

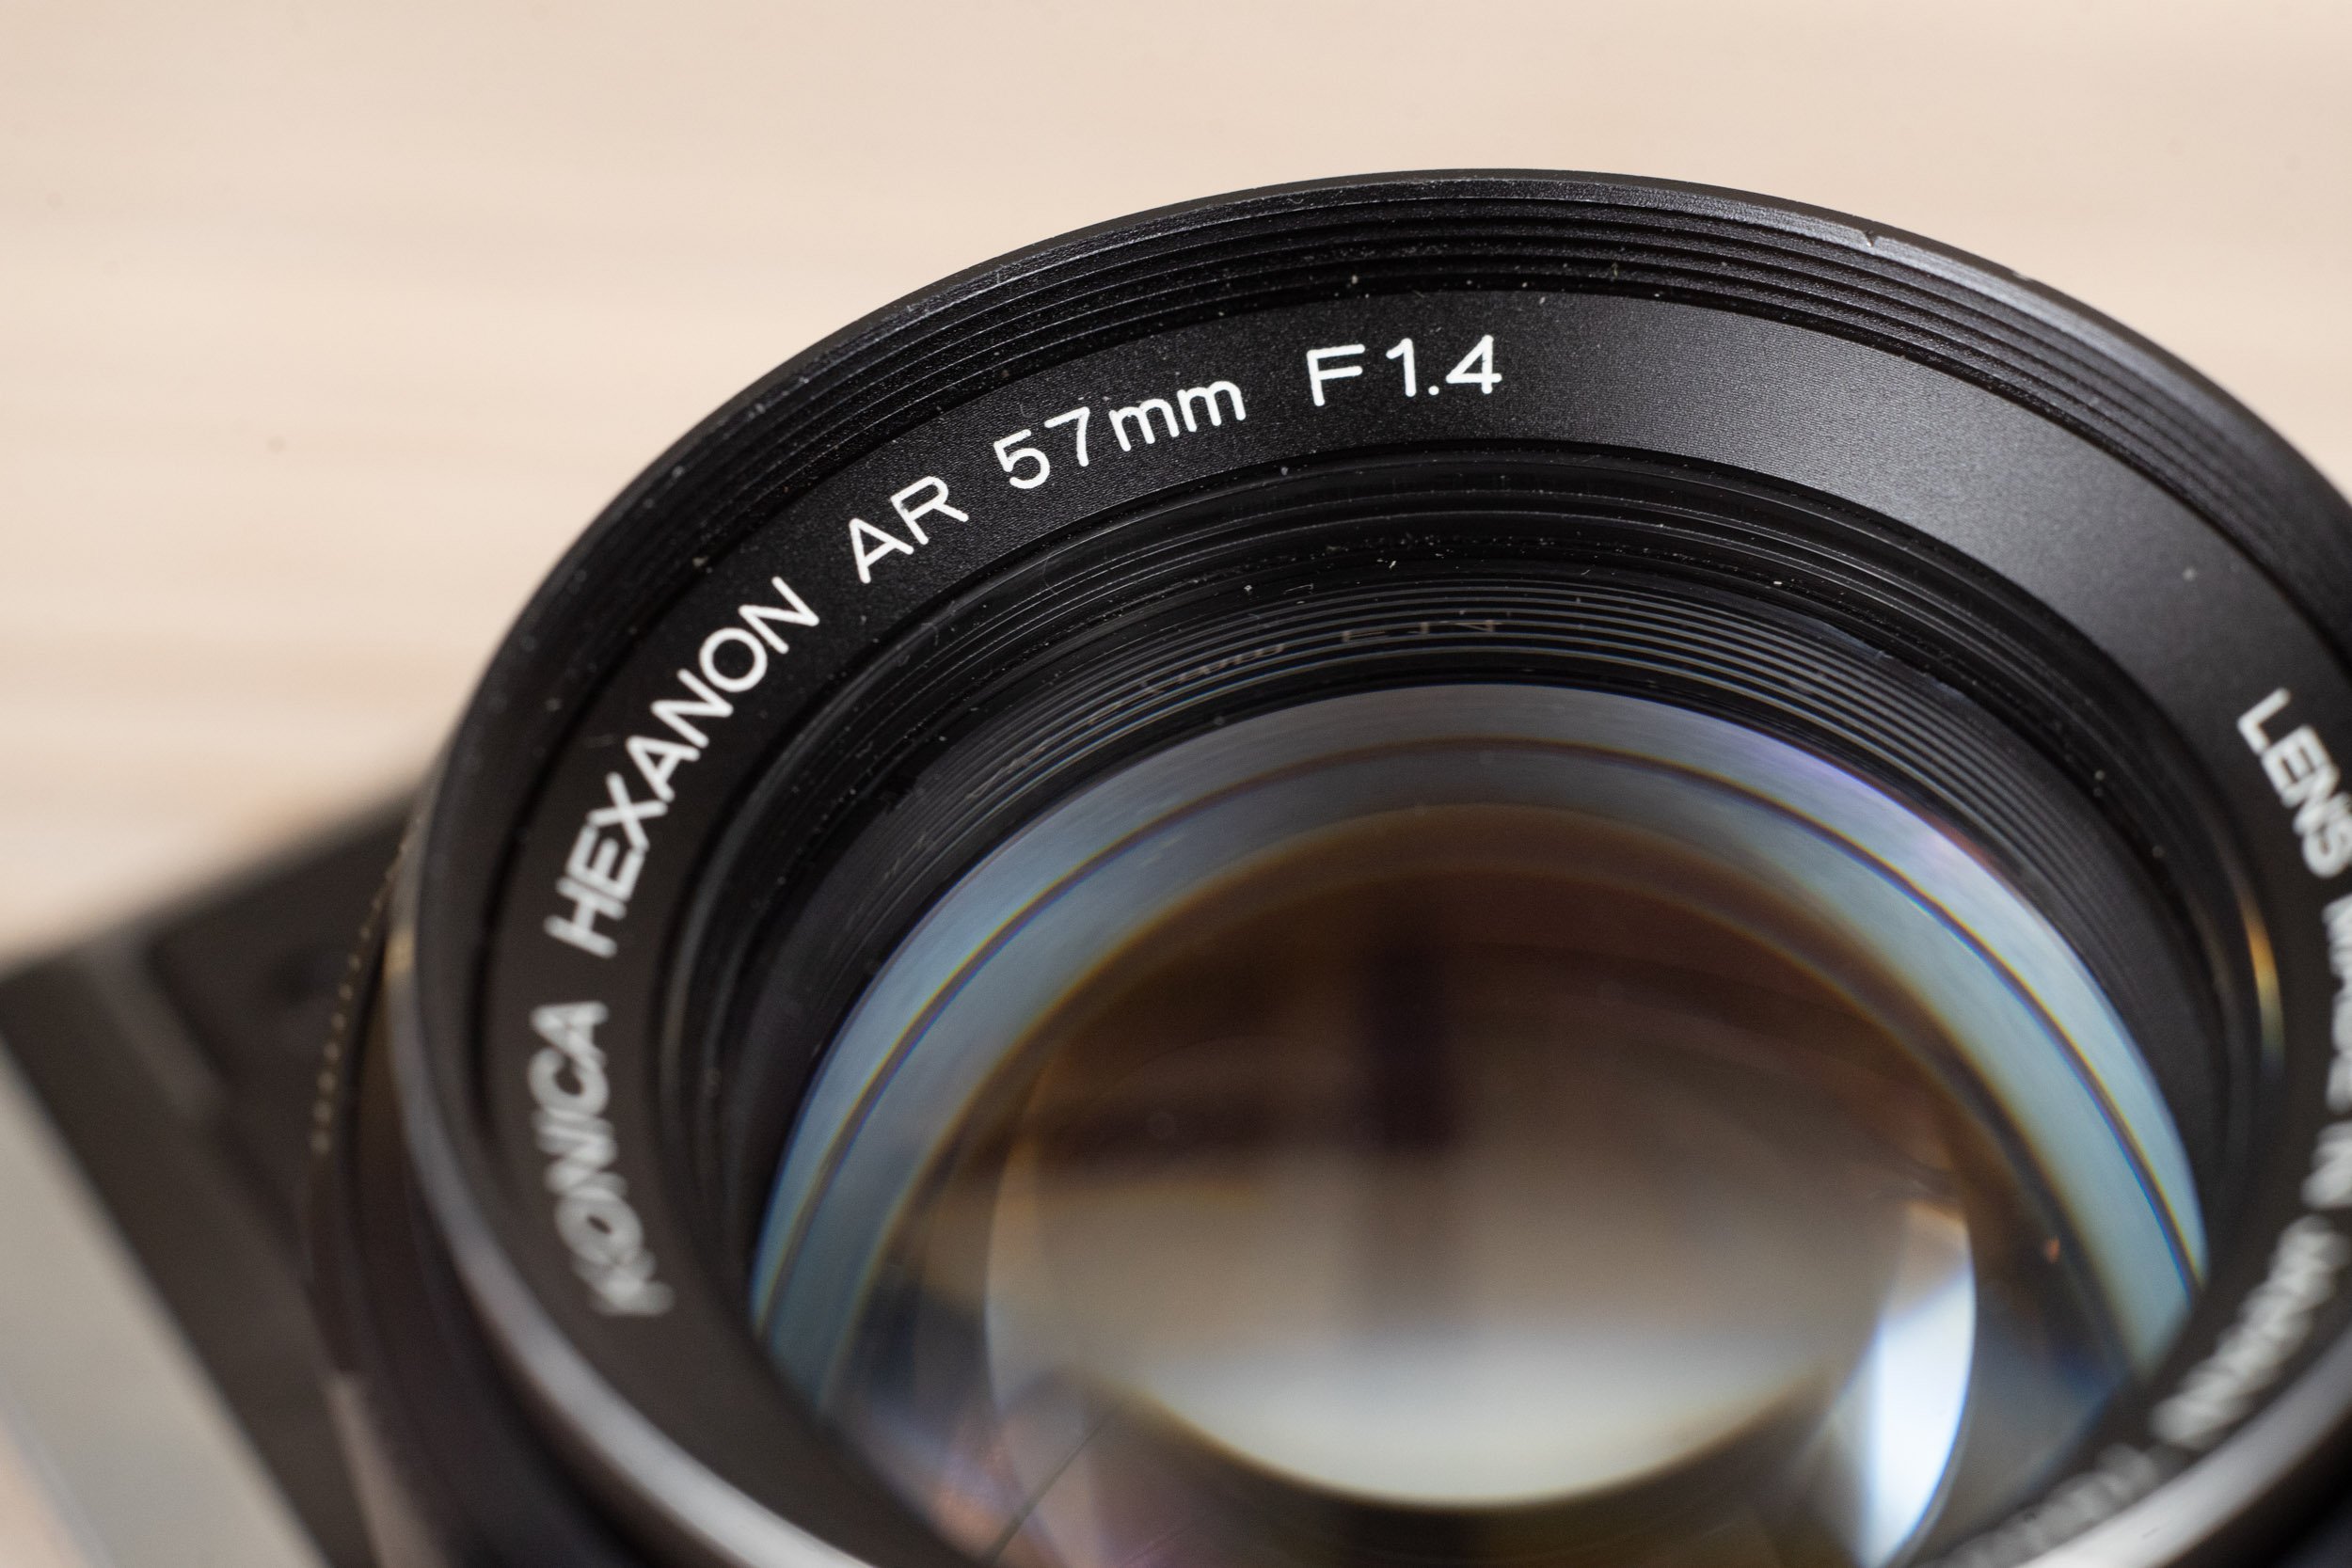
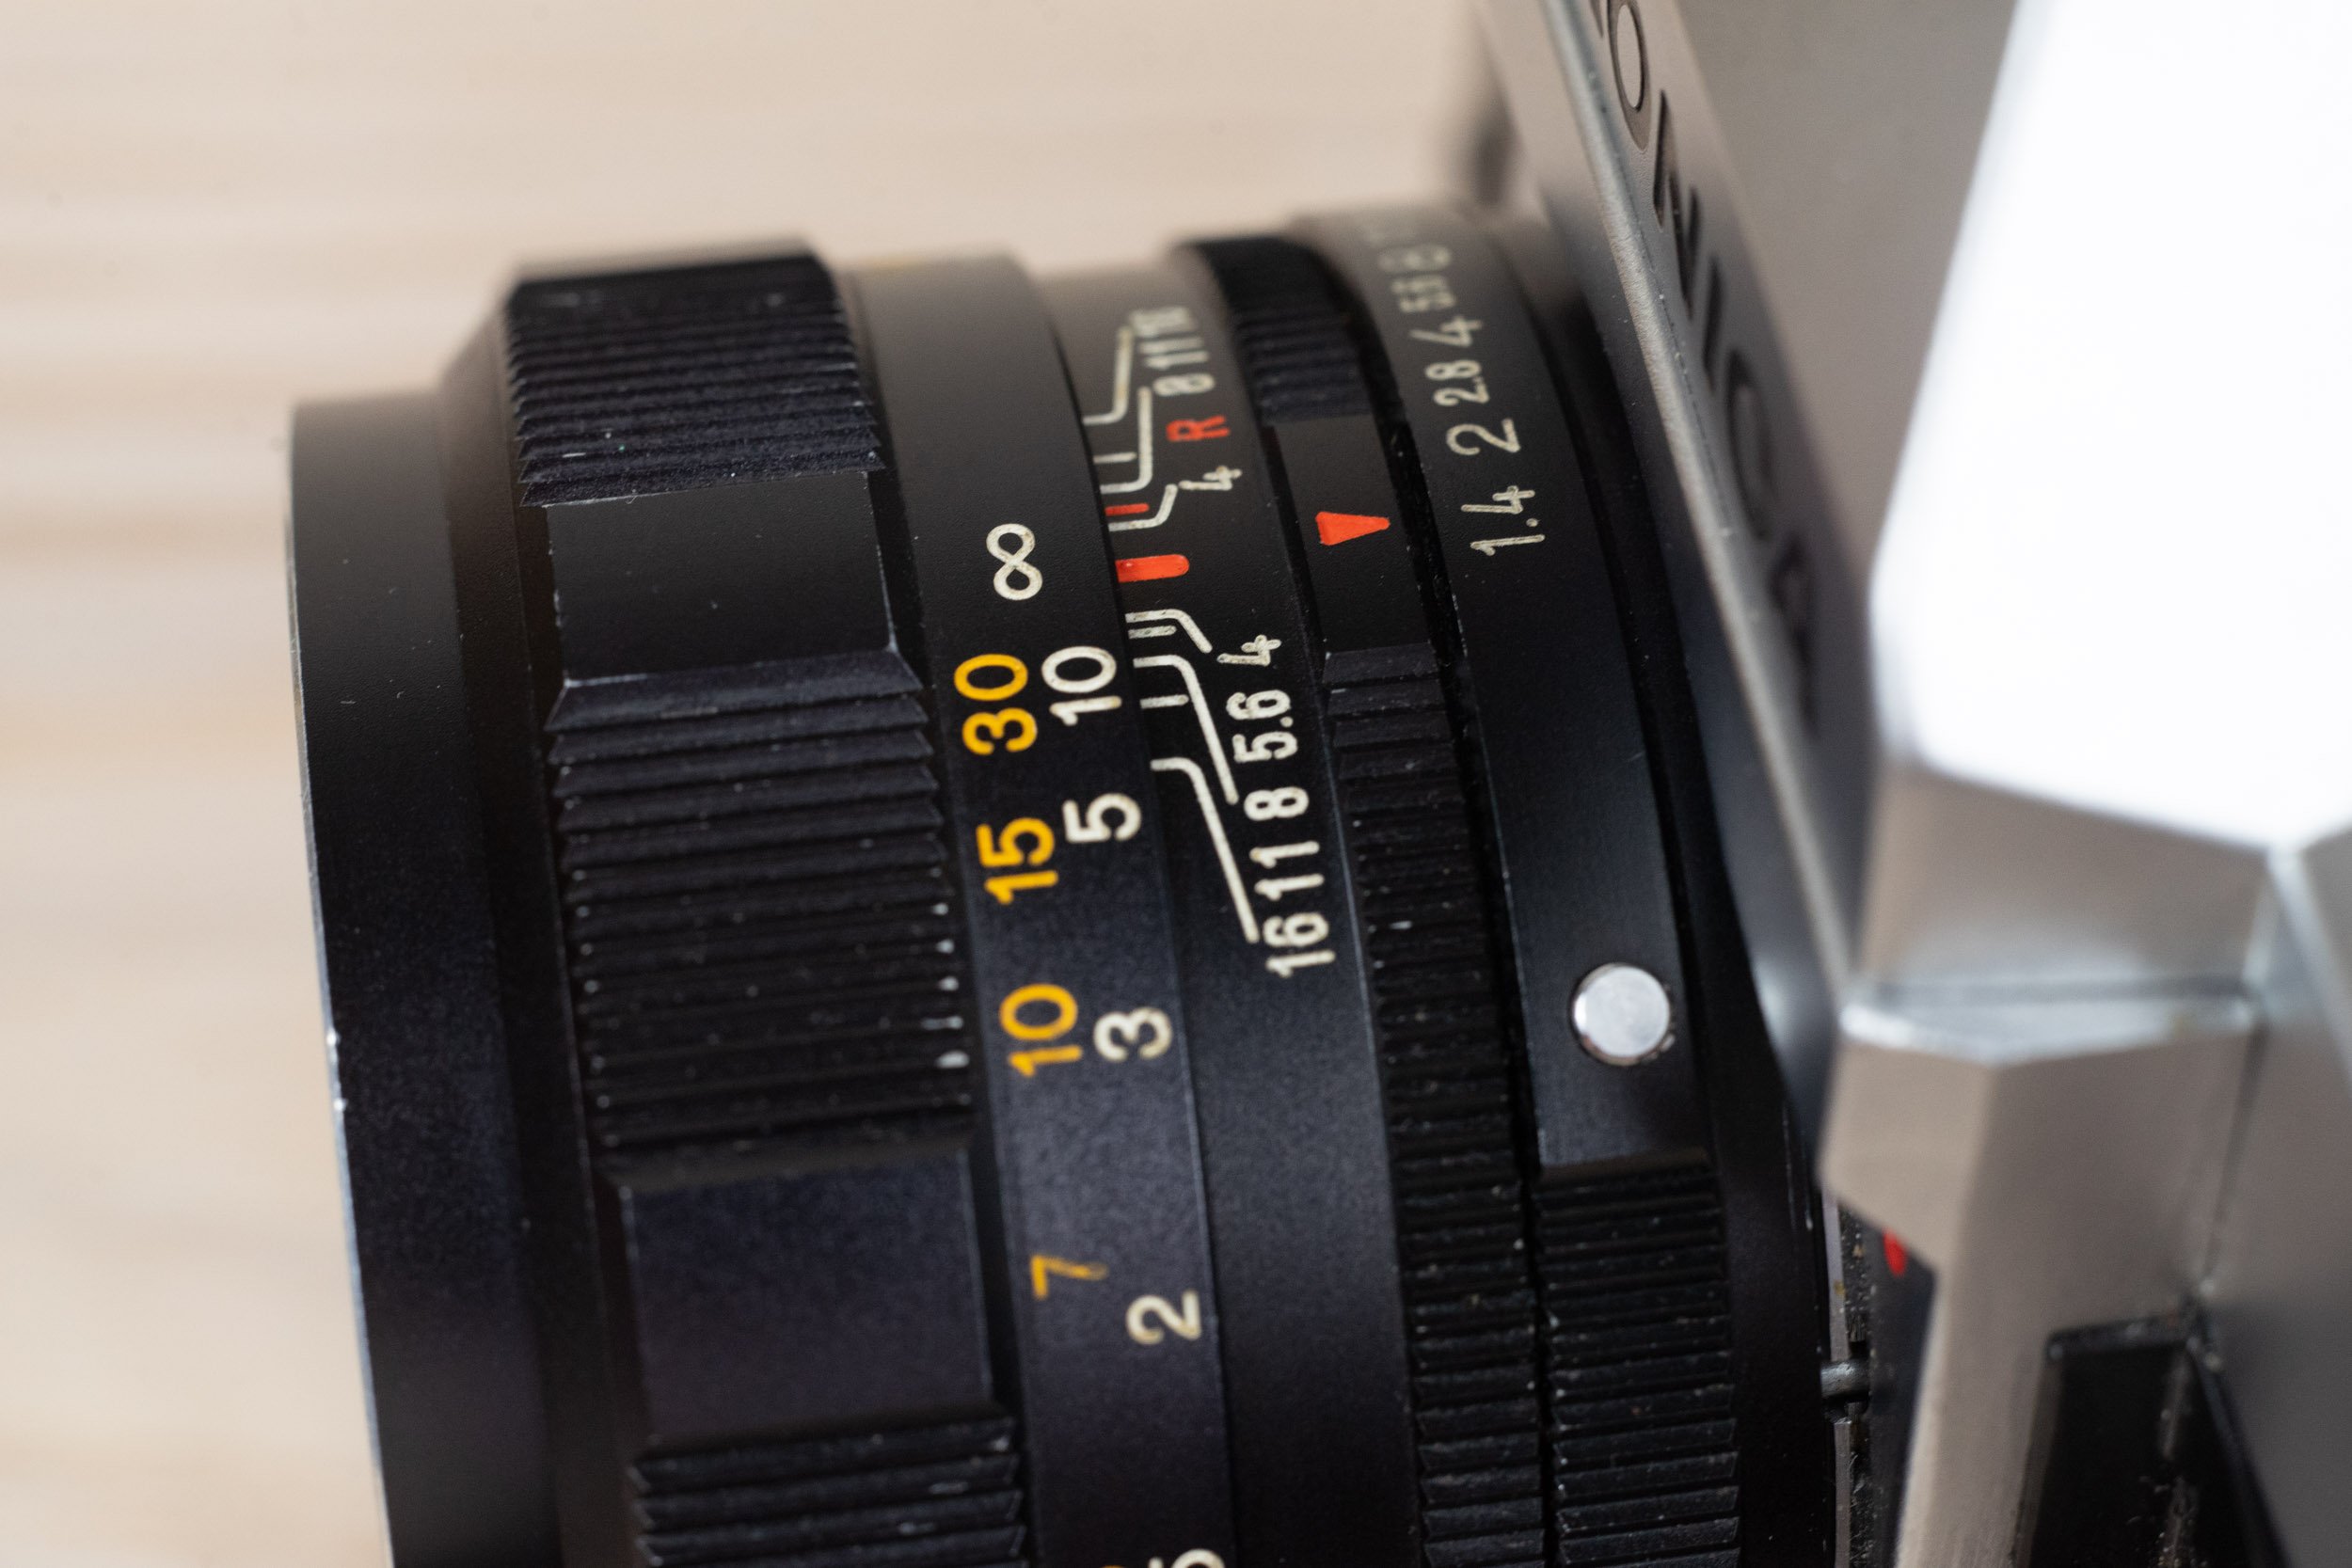
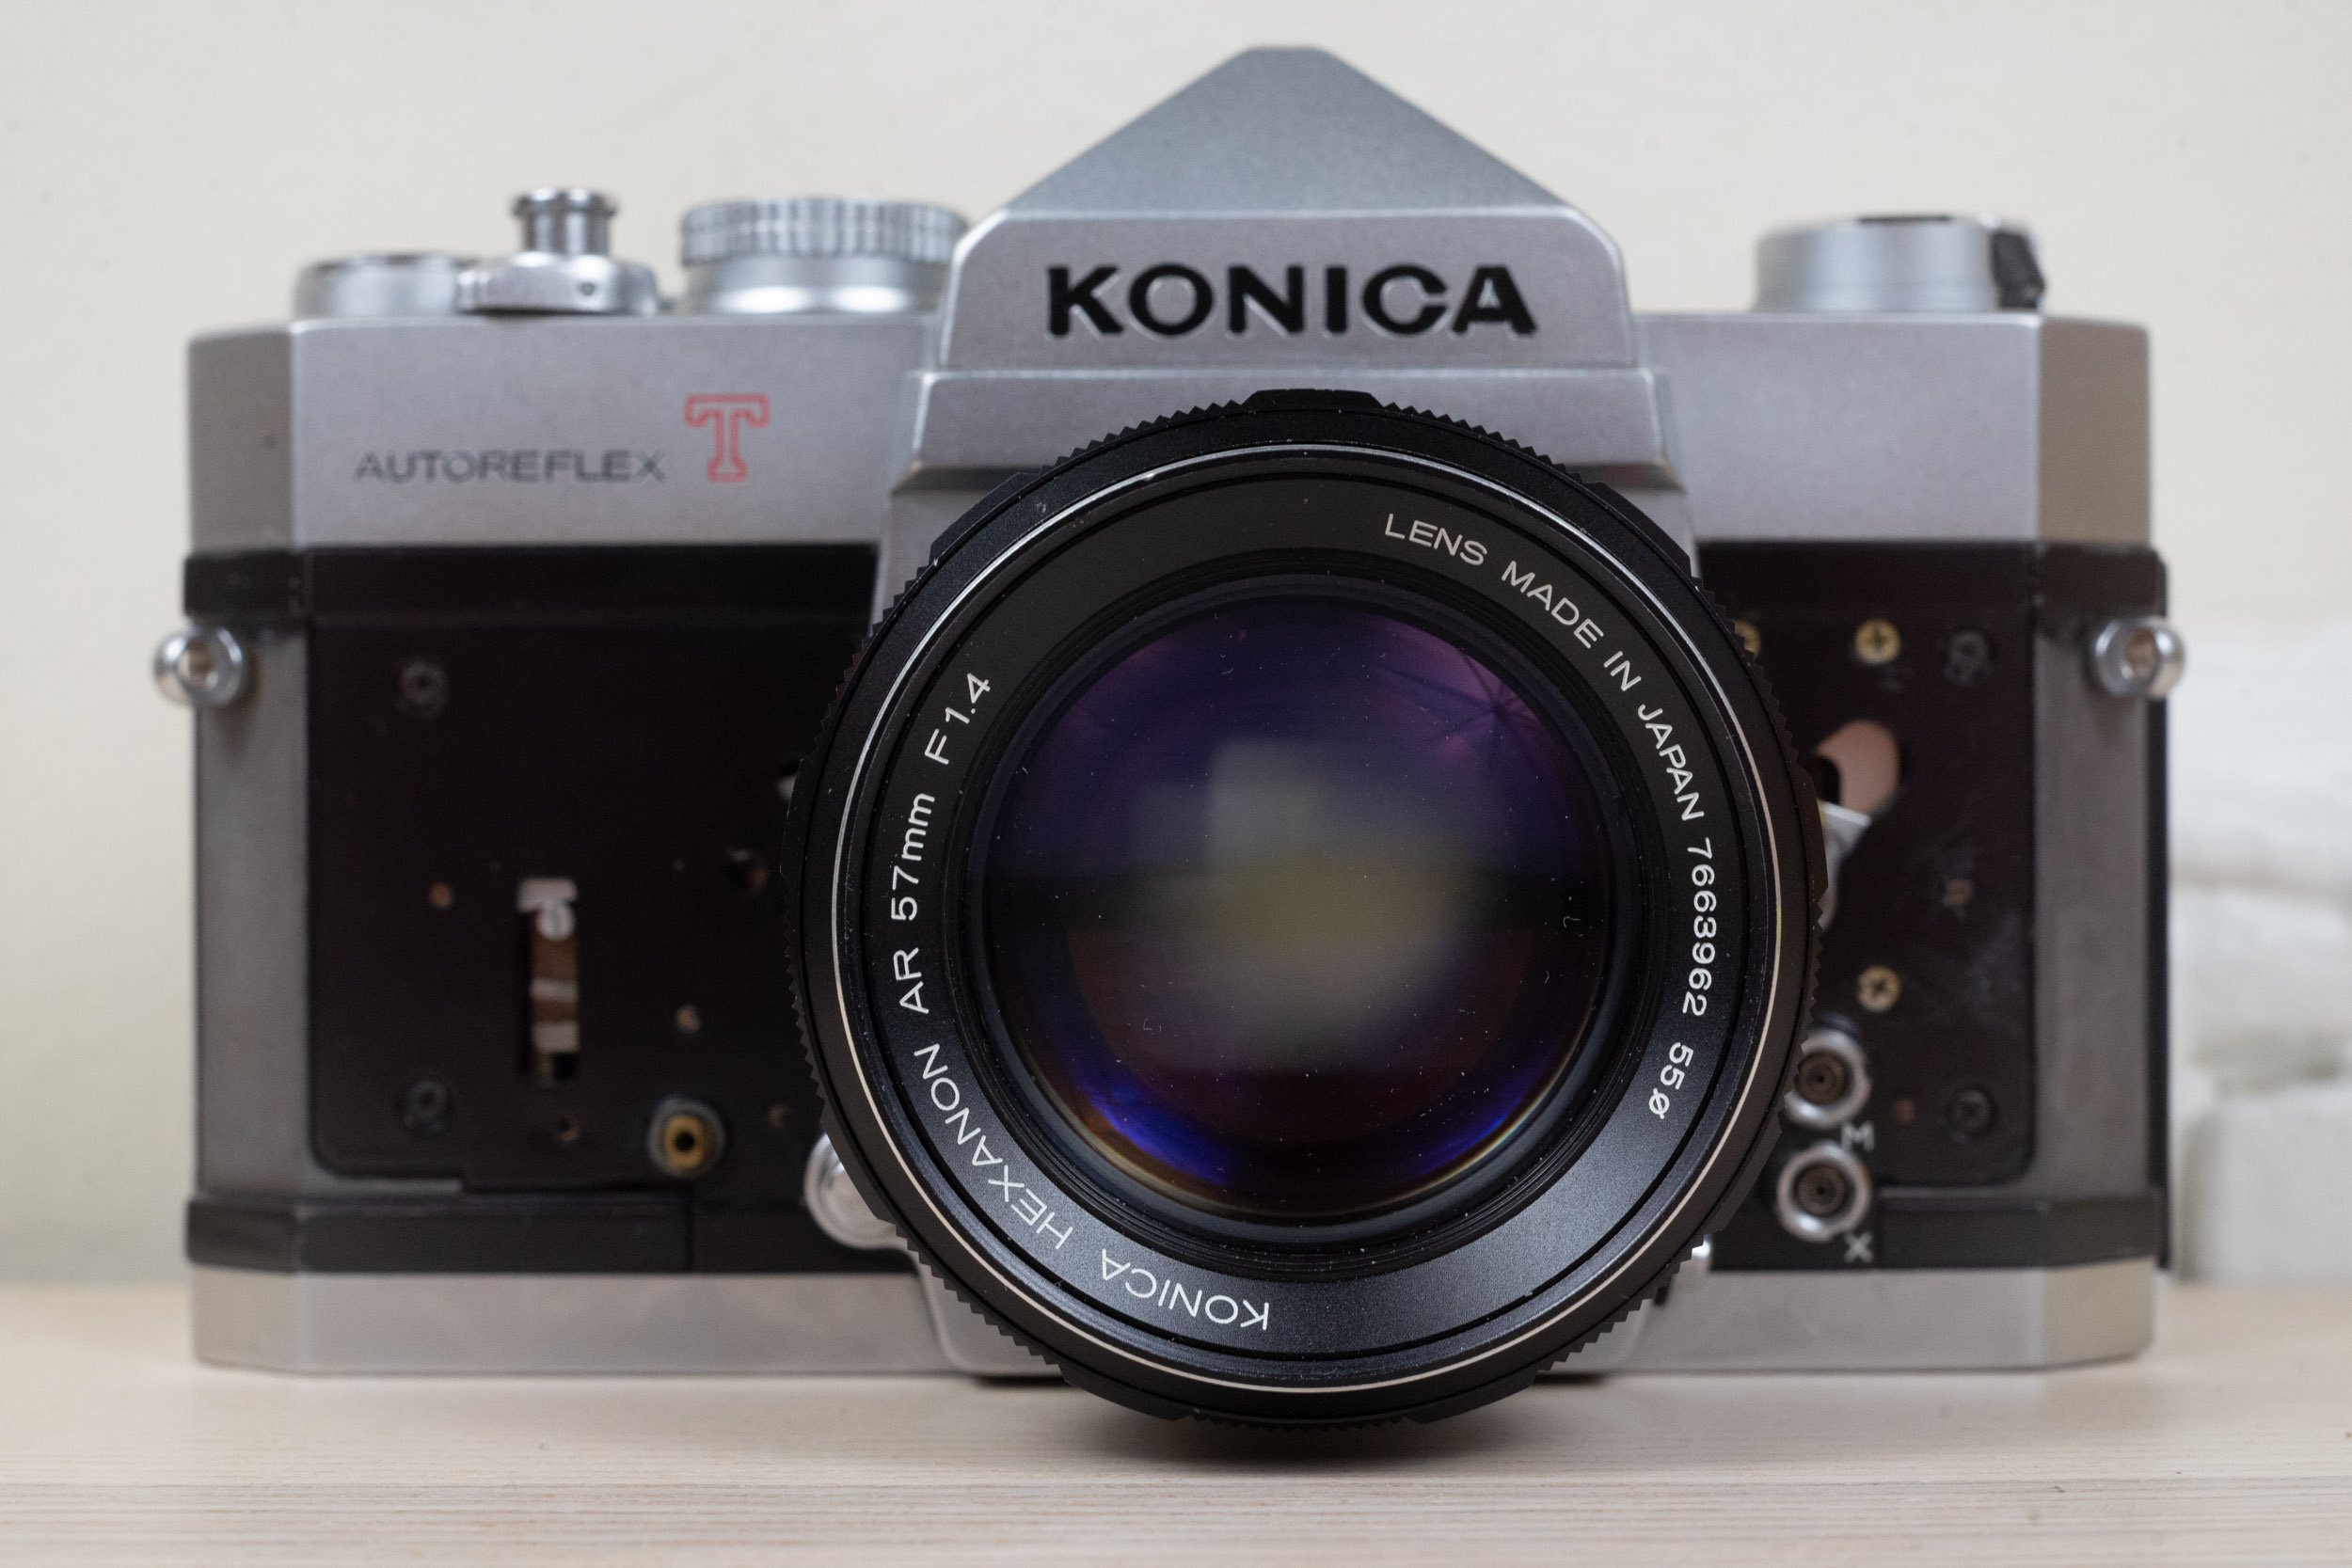
Konica Hexanon 57mm f1.4

Article includes:
General lens characteristics
Lens performance overview
Example photos
Disassembly, cleaning and repair notes
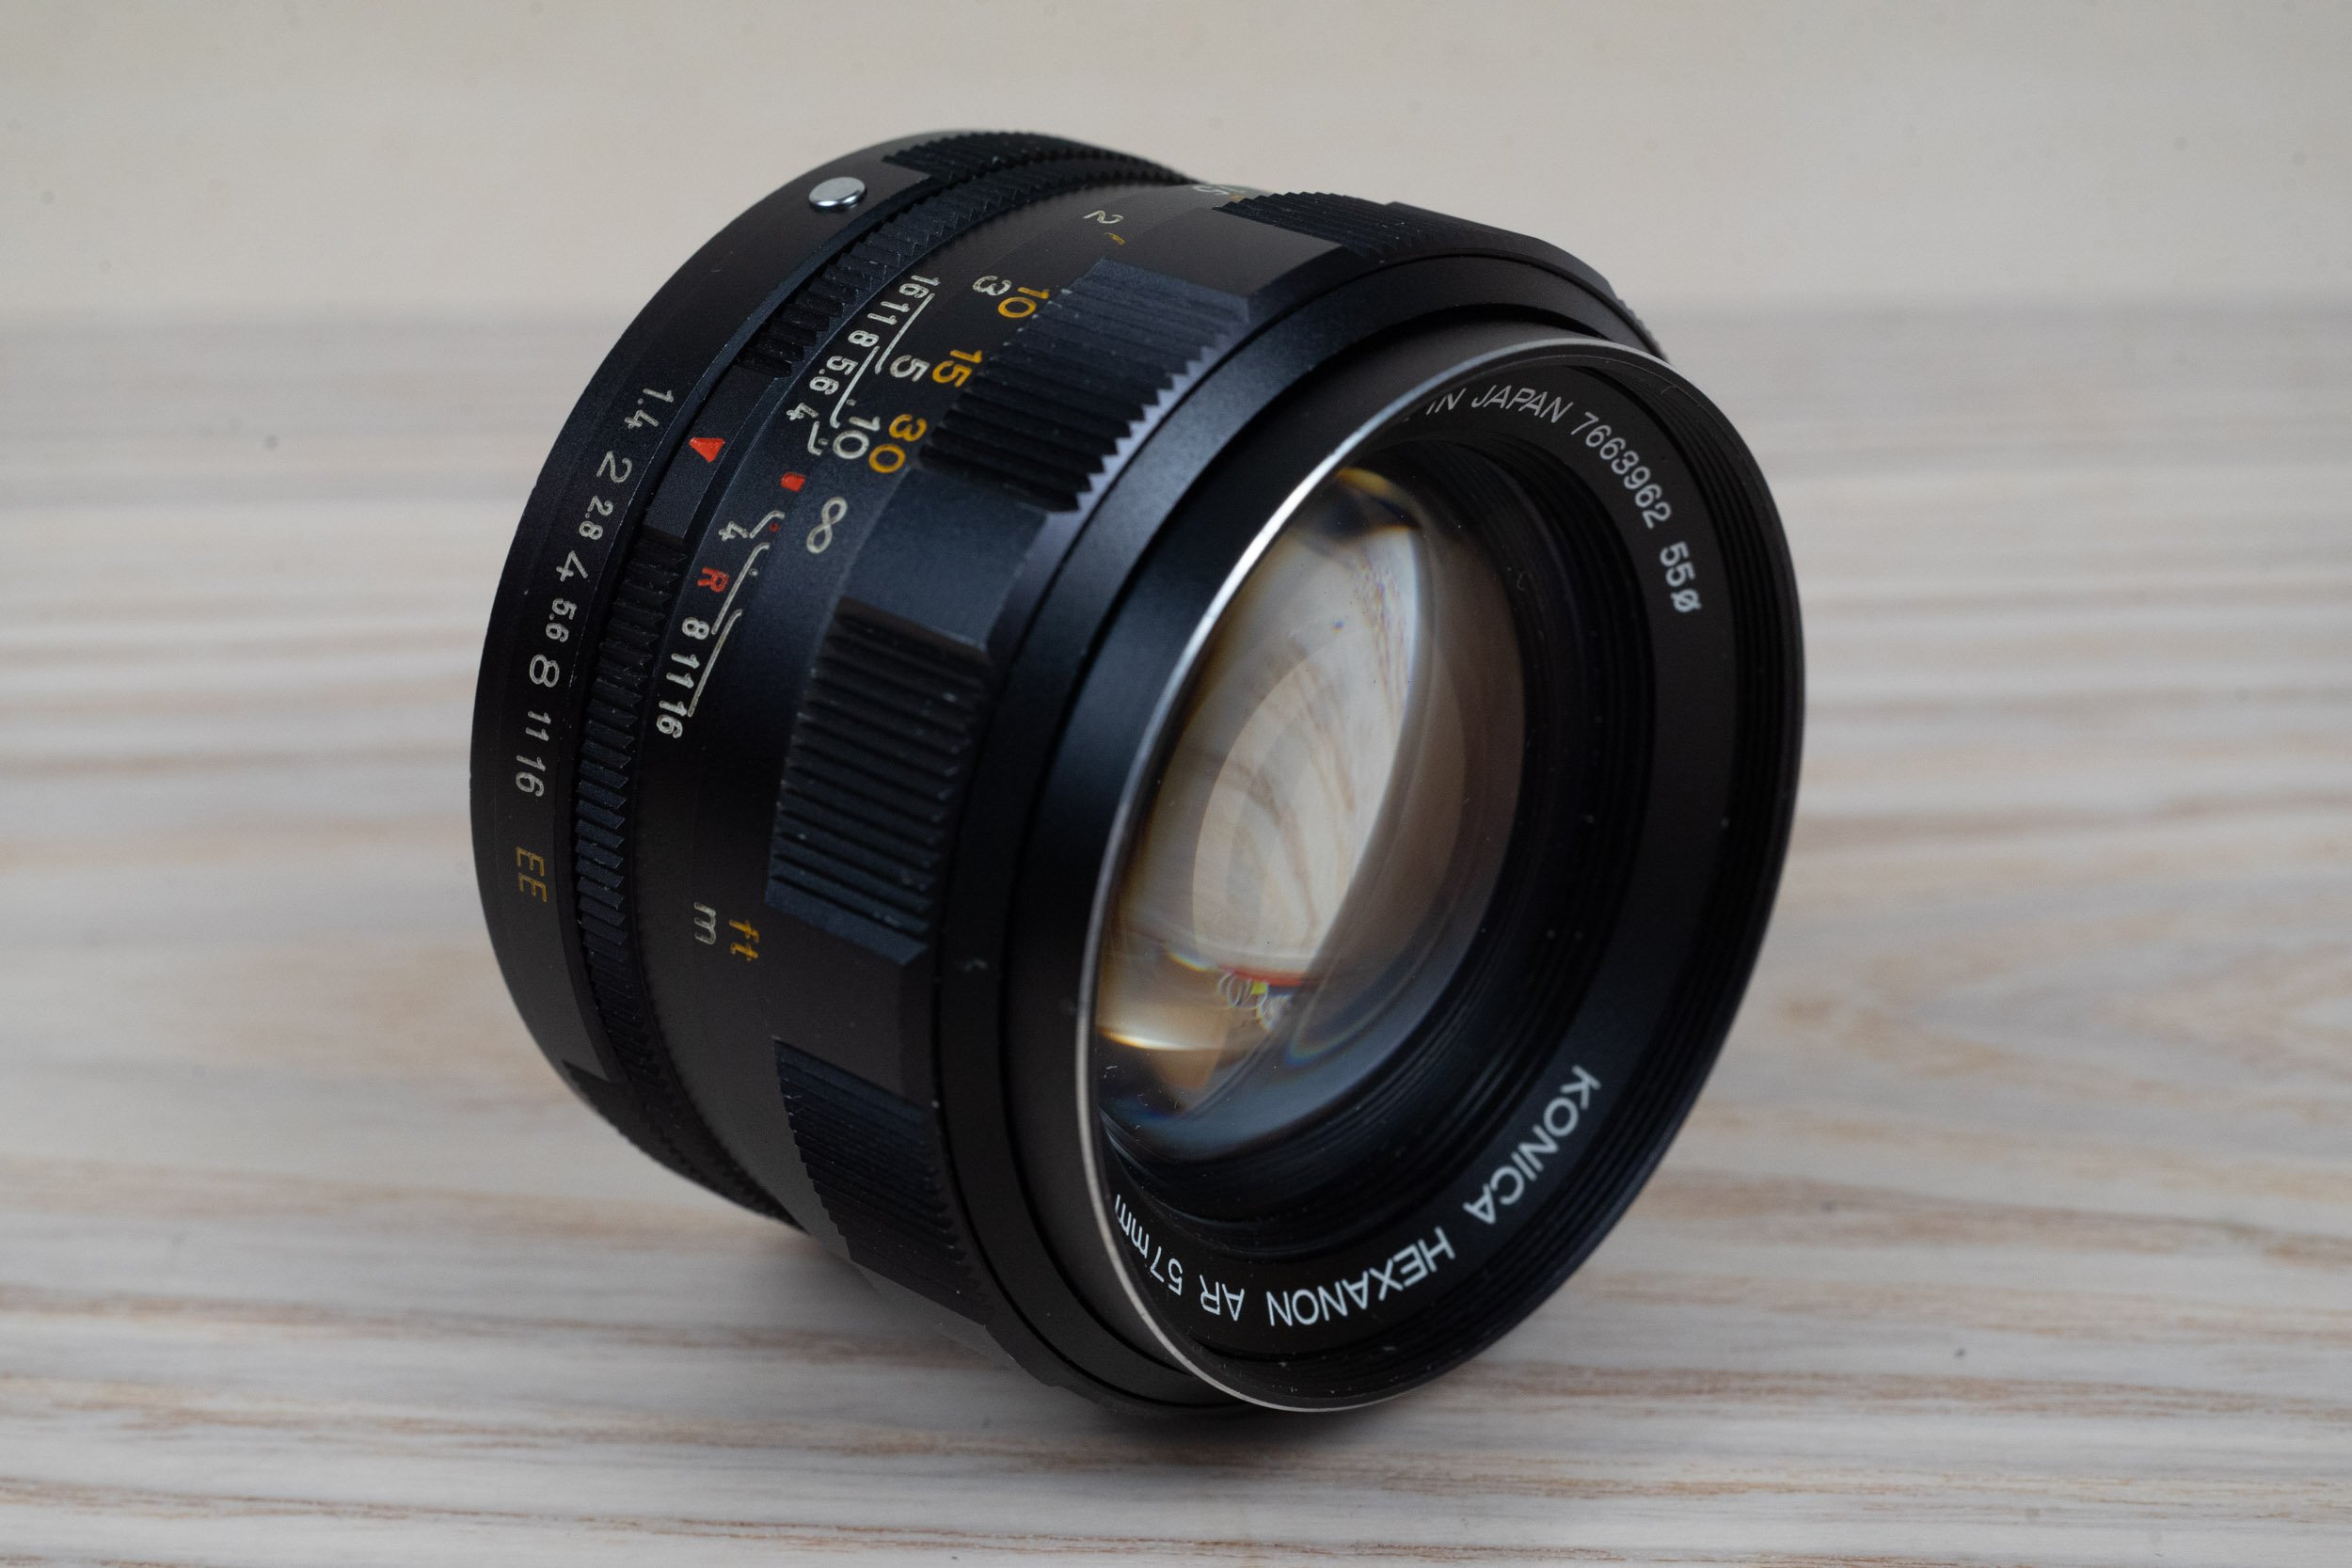
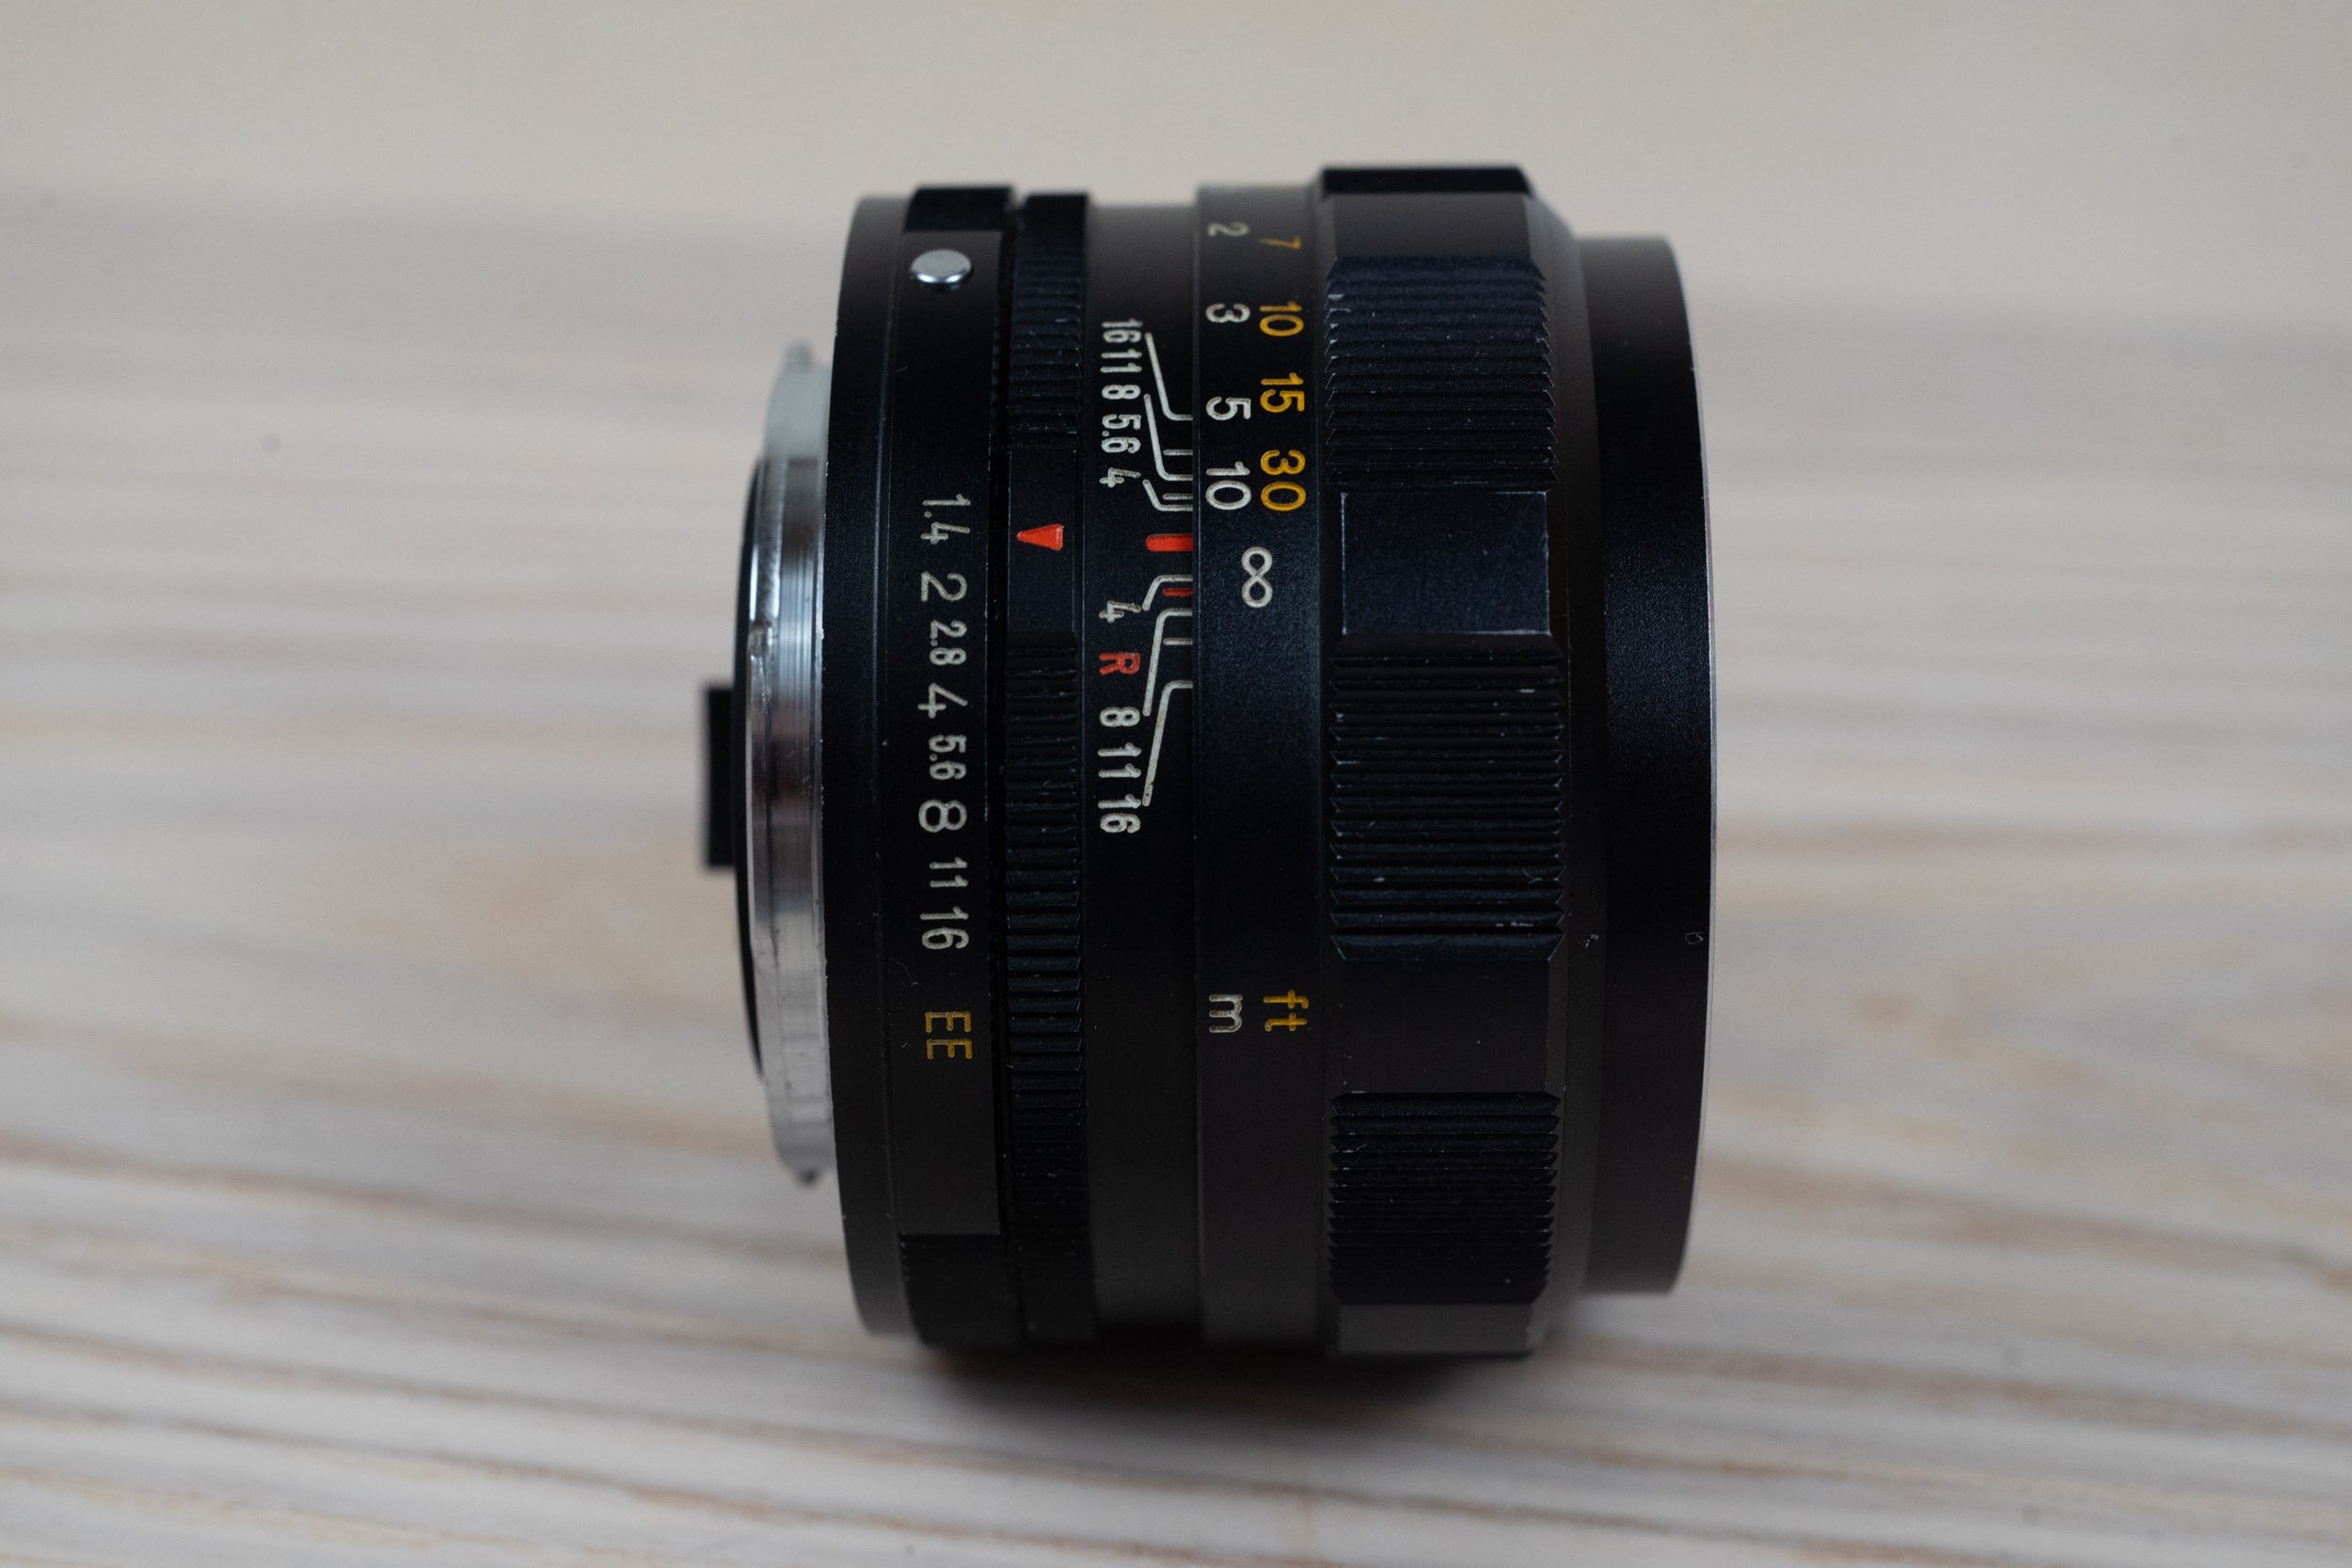
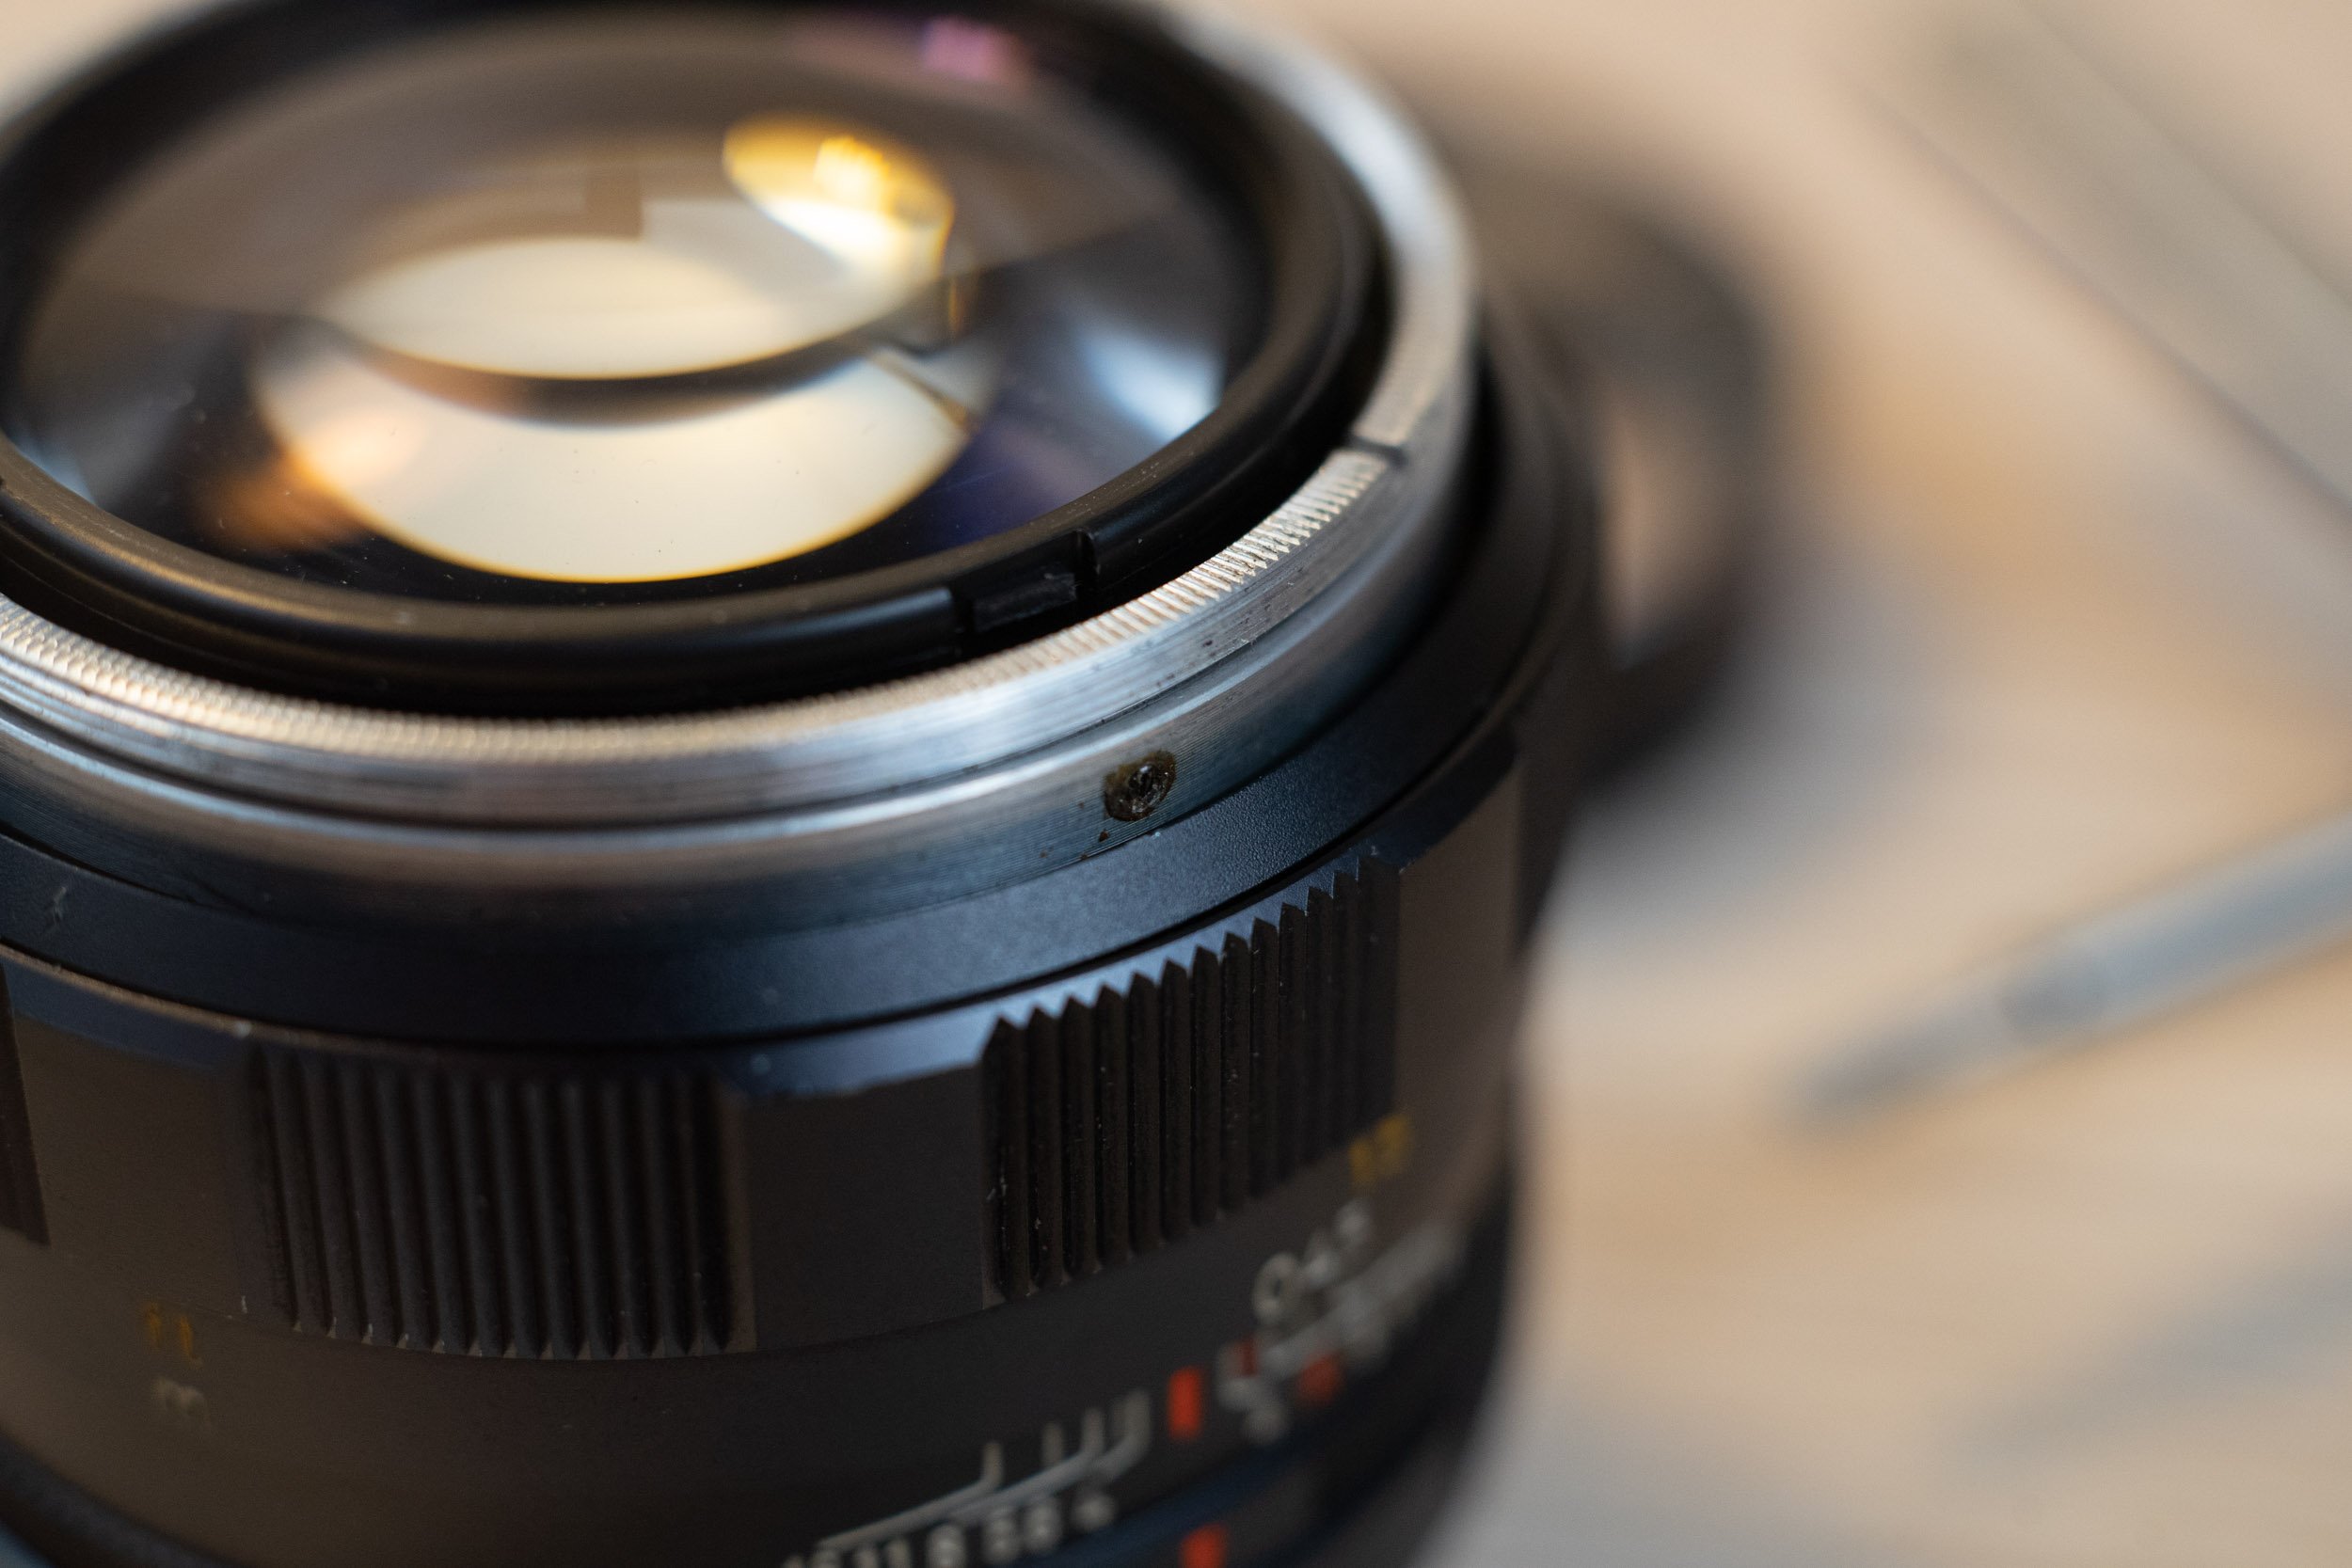
General Lens Characteristics
The Konica Hexanon 57mm f1.4 is a classic 6-element Gauss-type lens with performance slightly surpassing most similar lenses from other manufacturers of its era (mid-1960s). It’s well built and is constructed almost entirely from metal and glass. It pairs well with either Konica film cameras or modern mirrorless cameras.
There are a few different versions of the lens, all for Konica AR mount. The differences are primarily aesthetic and the optical formula remained the same for all versions. Coatings may have improved throughout the years, though I cannot confirm this.
This lens followed the groundbreaking Nippon Kogaku (Nikon) 5.8cm f1.4 lens by approximately 6 years. The Nippon Kogaku’s performance characteristics fall somewhat short of the later Hexanon 57mm, but it has the distinction of being the first-ever SLR-mount f1.4 lens.
SLRs must allow room for the mirror mechanism between the lens and the film, requiring a longer flange distance than an otherwise equivalent rangefinder or folding camera lens. Early lens designers hadn’t yet mastered the techniques required to make a true 50mm f1.4 with such a flange distance, so they compromised by stretching the focal length by 7 or 8 mm to allow more back-focusing distance.
Both the Hexanon 57mm discussed here and the earlier Nippon Kogaku 5.8cm lens are examples of this compromise. Both lenses would be succeeded several years later by a true 50mm f1.4 lens from their respective manufacturers.
Lens Performance Overview
The Hexanon 57mm f1.4 has moderately better wide-open performance than similar lenses of its class from other manufacturers of this era. Color rendition is excellent (and has always been a strong-suit of Konica lenses) while sharpness (particularly close-up) is acceptable. Contrast is moderate, though better than the equivalent Nikon or Minolta lens. Bokeh exhibits a lot of busyness and double-line effects. Overall I like its rendition, though tastes certainly vary.
Stopped down to f2.0, the lens exhibits substantially more sharpness and better corner performance. Vignetting is reduced and contrast is improved. For lack of a better descriptor, Bokeh exhibits a “smooth busyness” effect.
By f2.8-4.0, the lens exhibits the typical corner-to-corner sharpness expected of a lens of its class. Color rendition remains consistently good while bokeh is much cleaner. Contrast has reached its peak.
From f5.6-11.0, performance is clean, sharp, and essentially indistinguishable from every other similarly-spec’d lens of this era.
At f16.0, the Hexanon 57mm has reached its minimum aperture. The first hints of diffraction appear, though sharpness and contrast remain excellent.
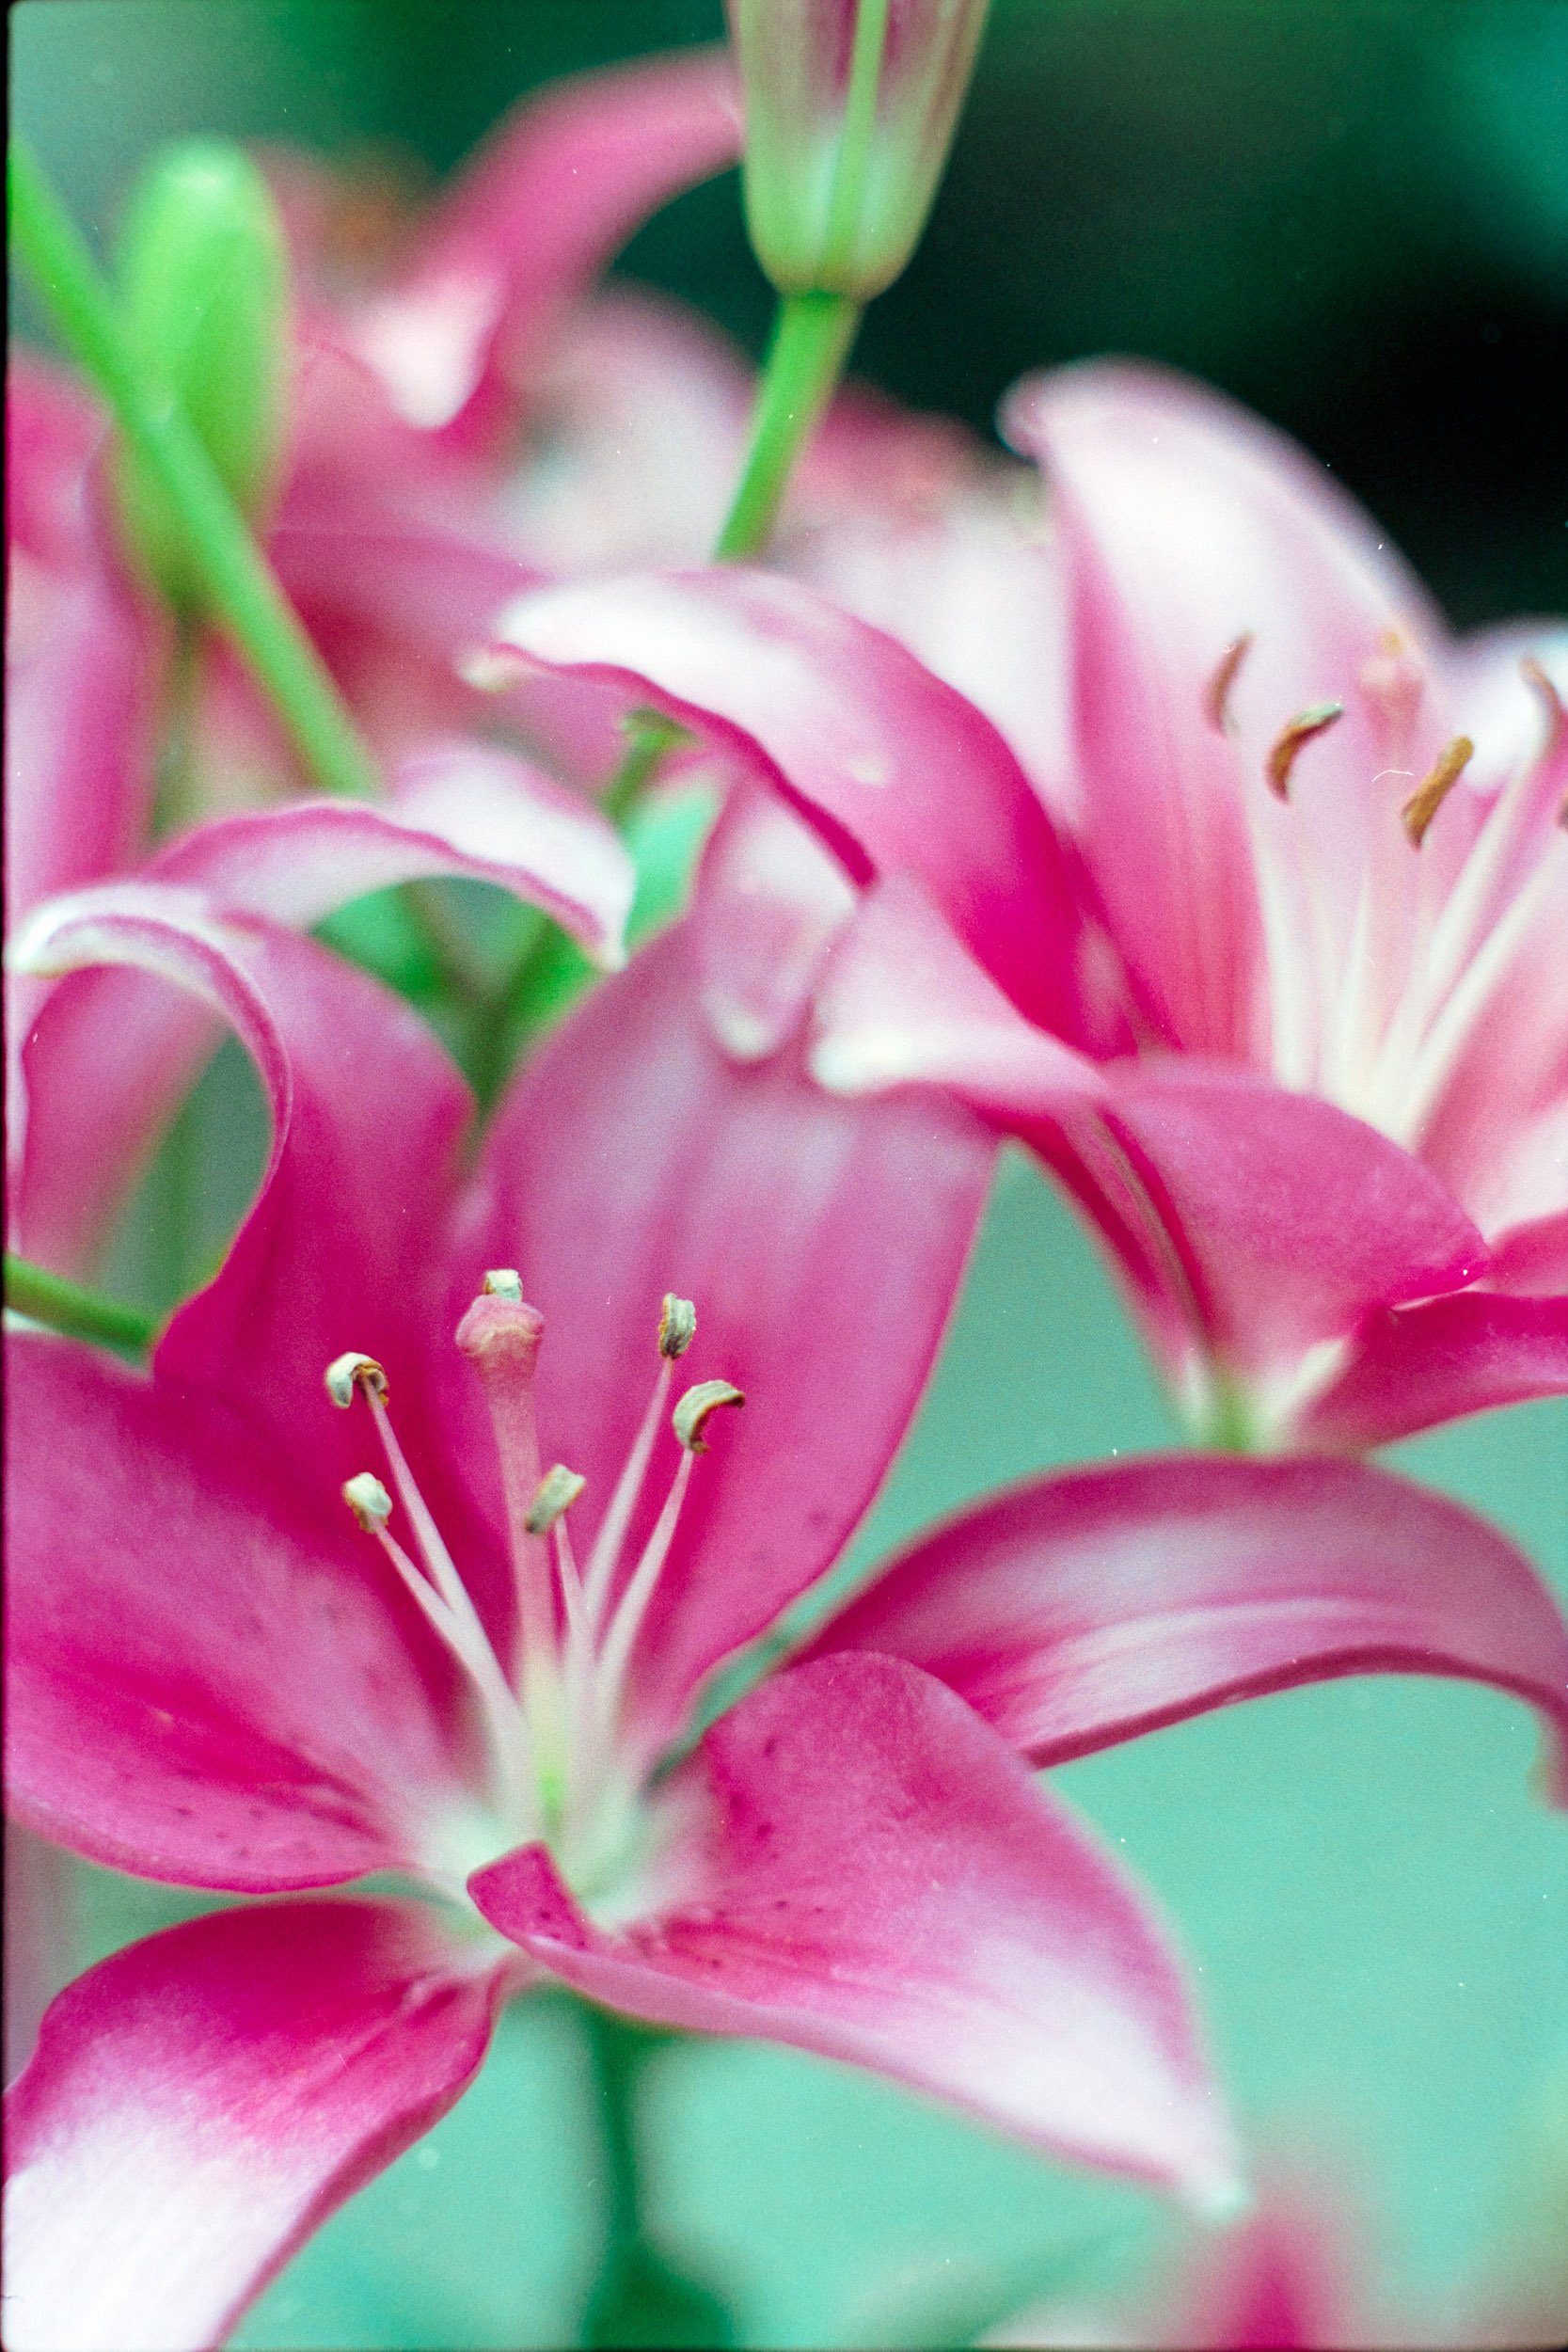
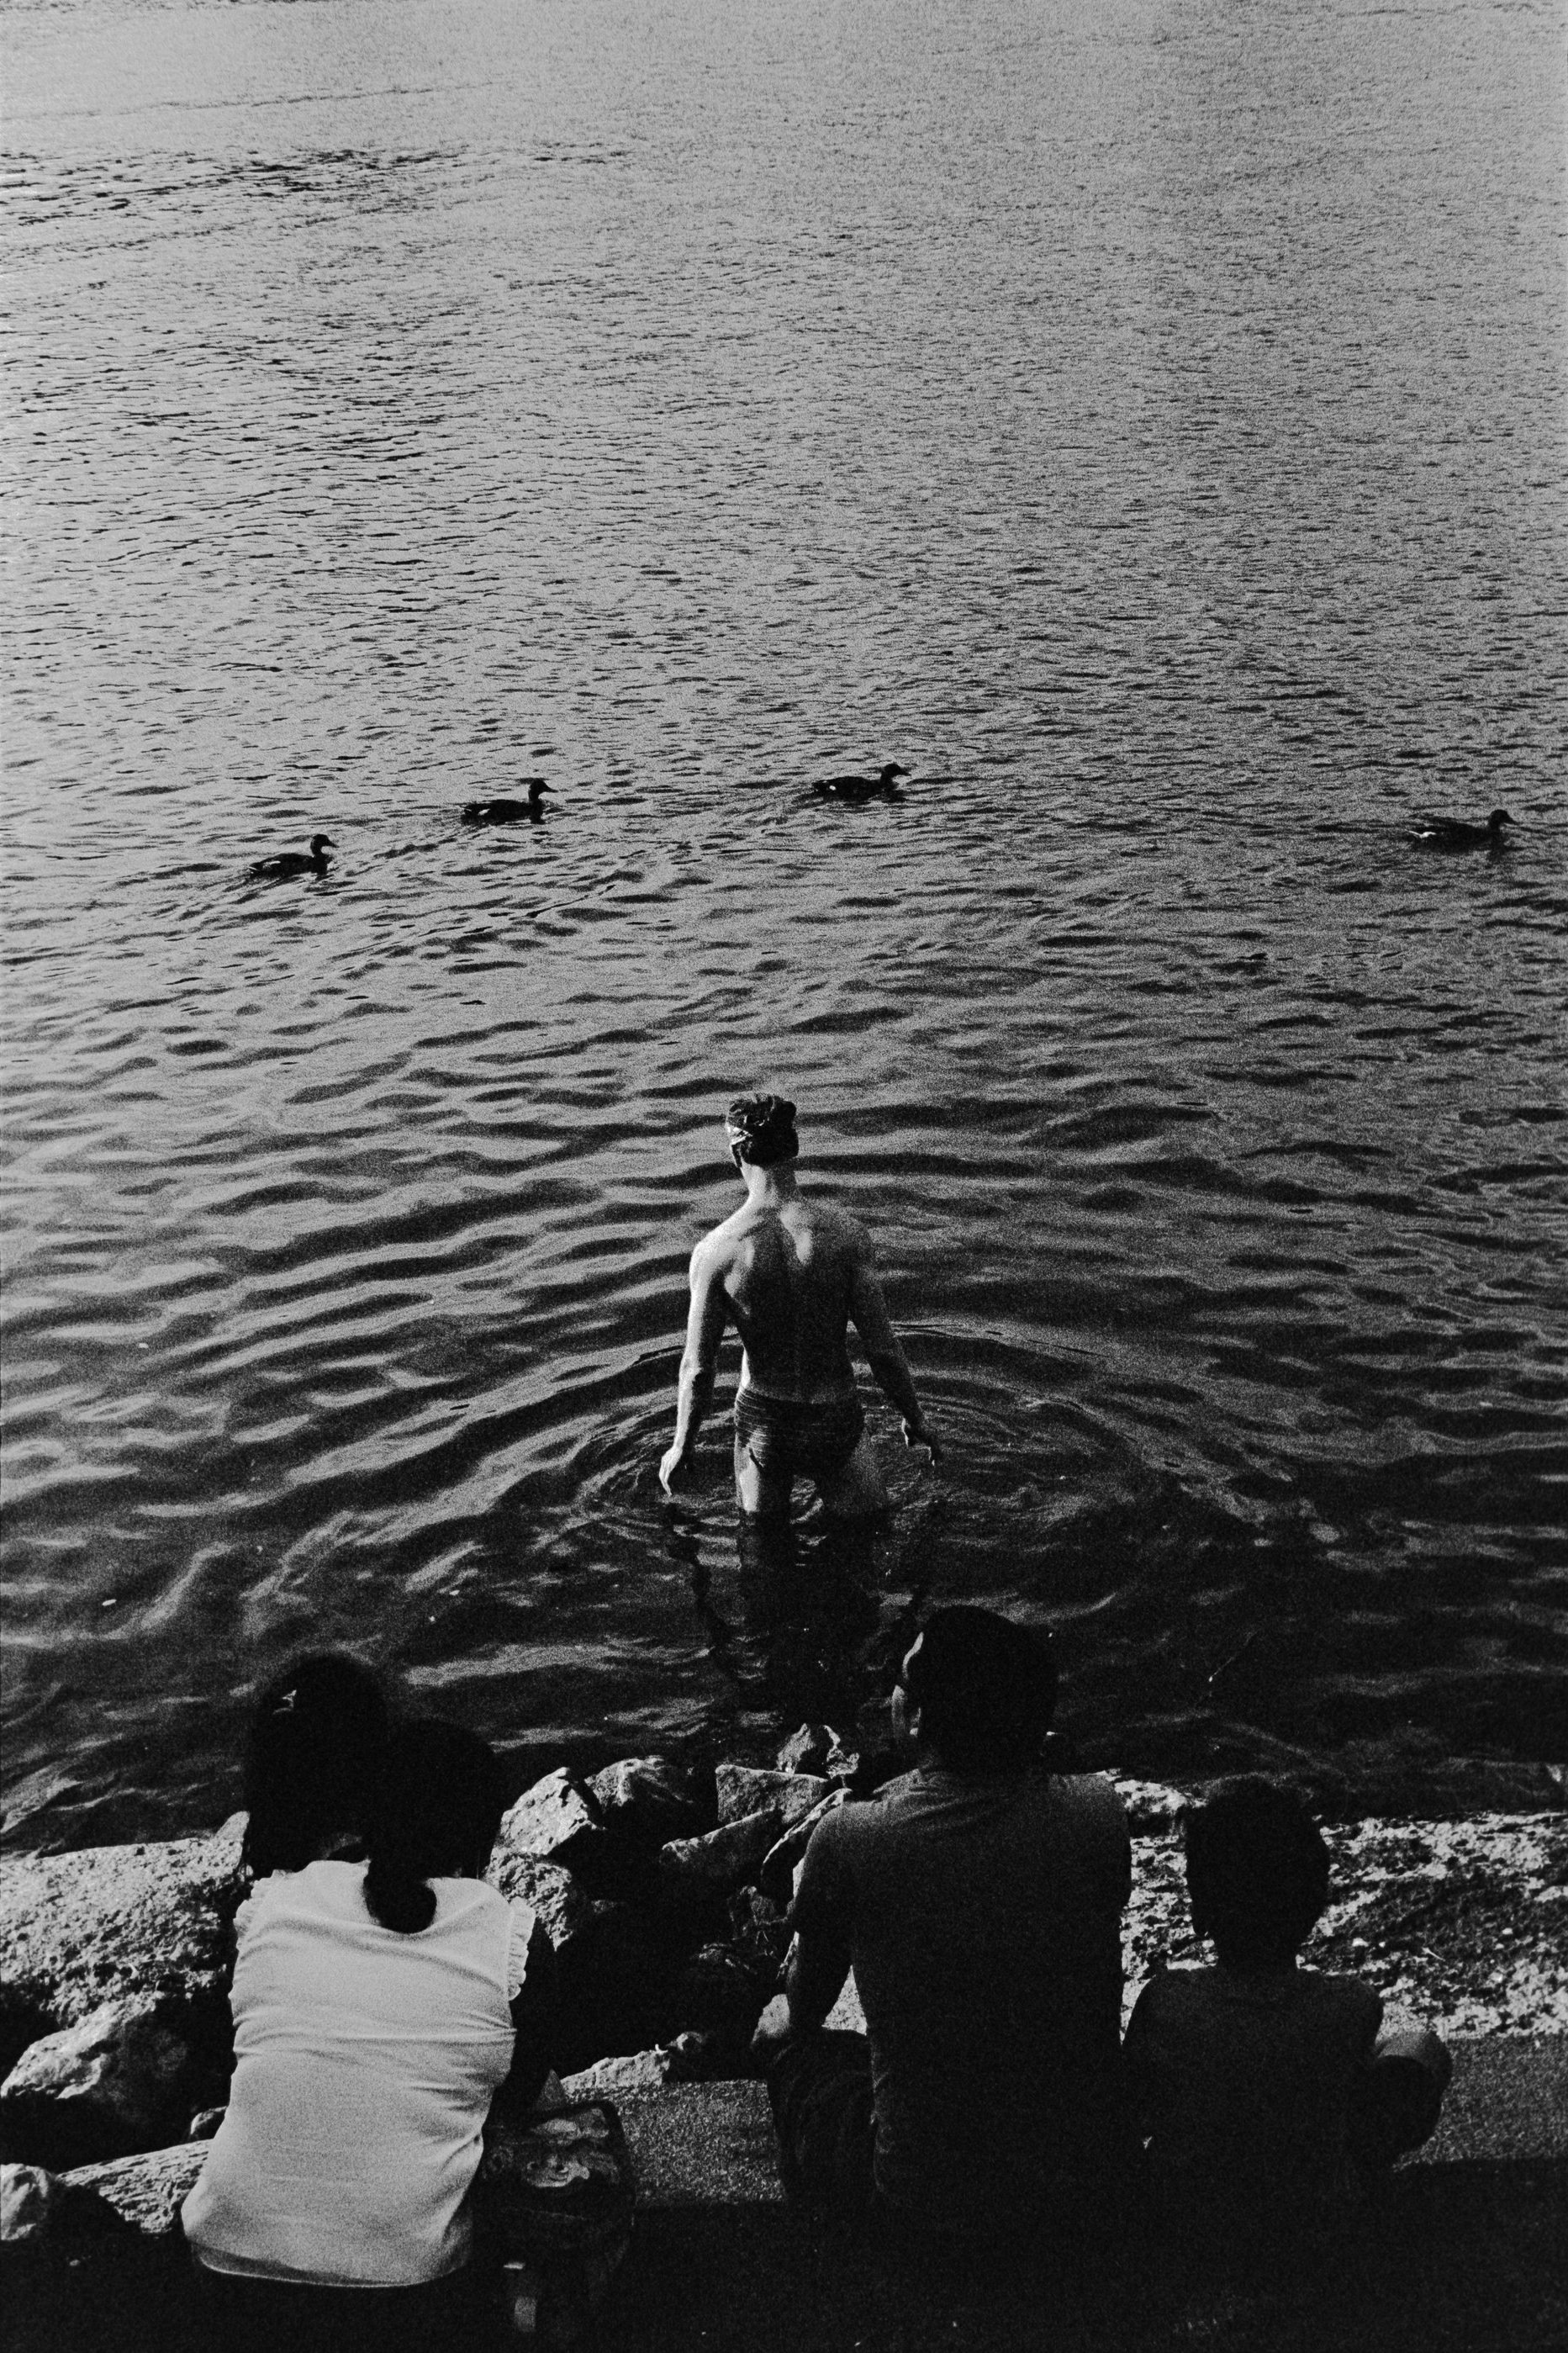
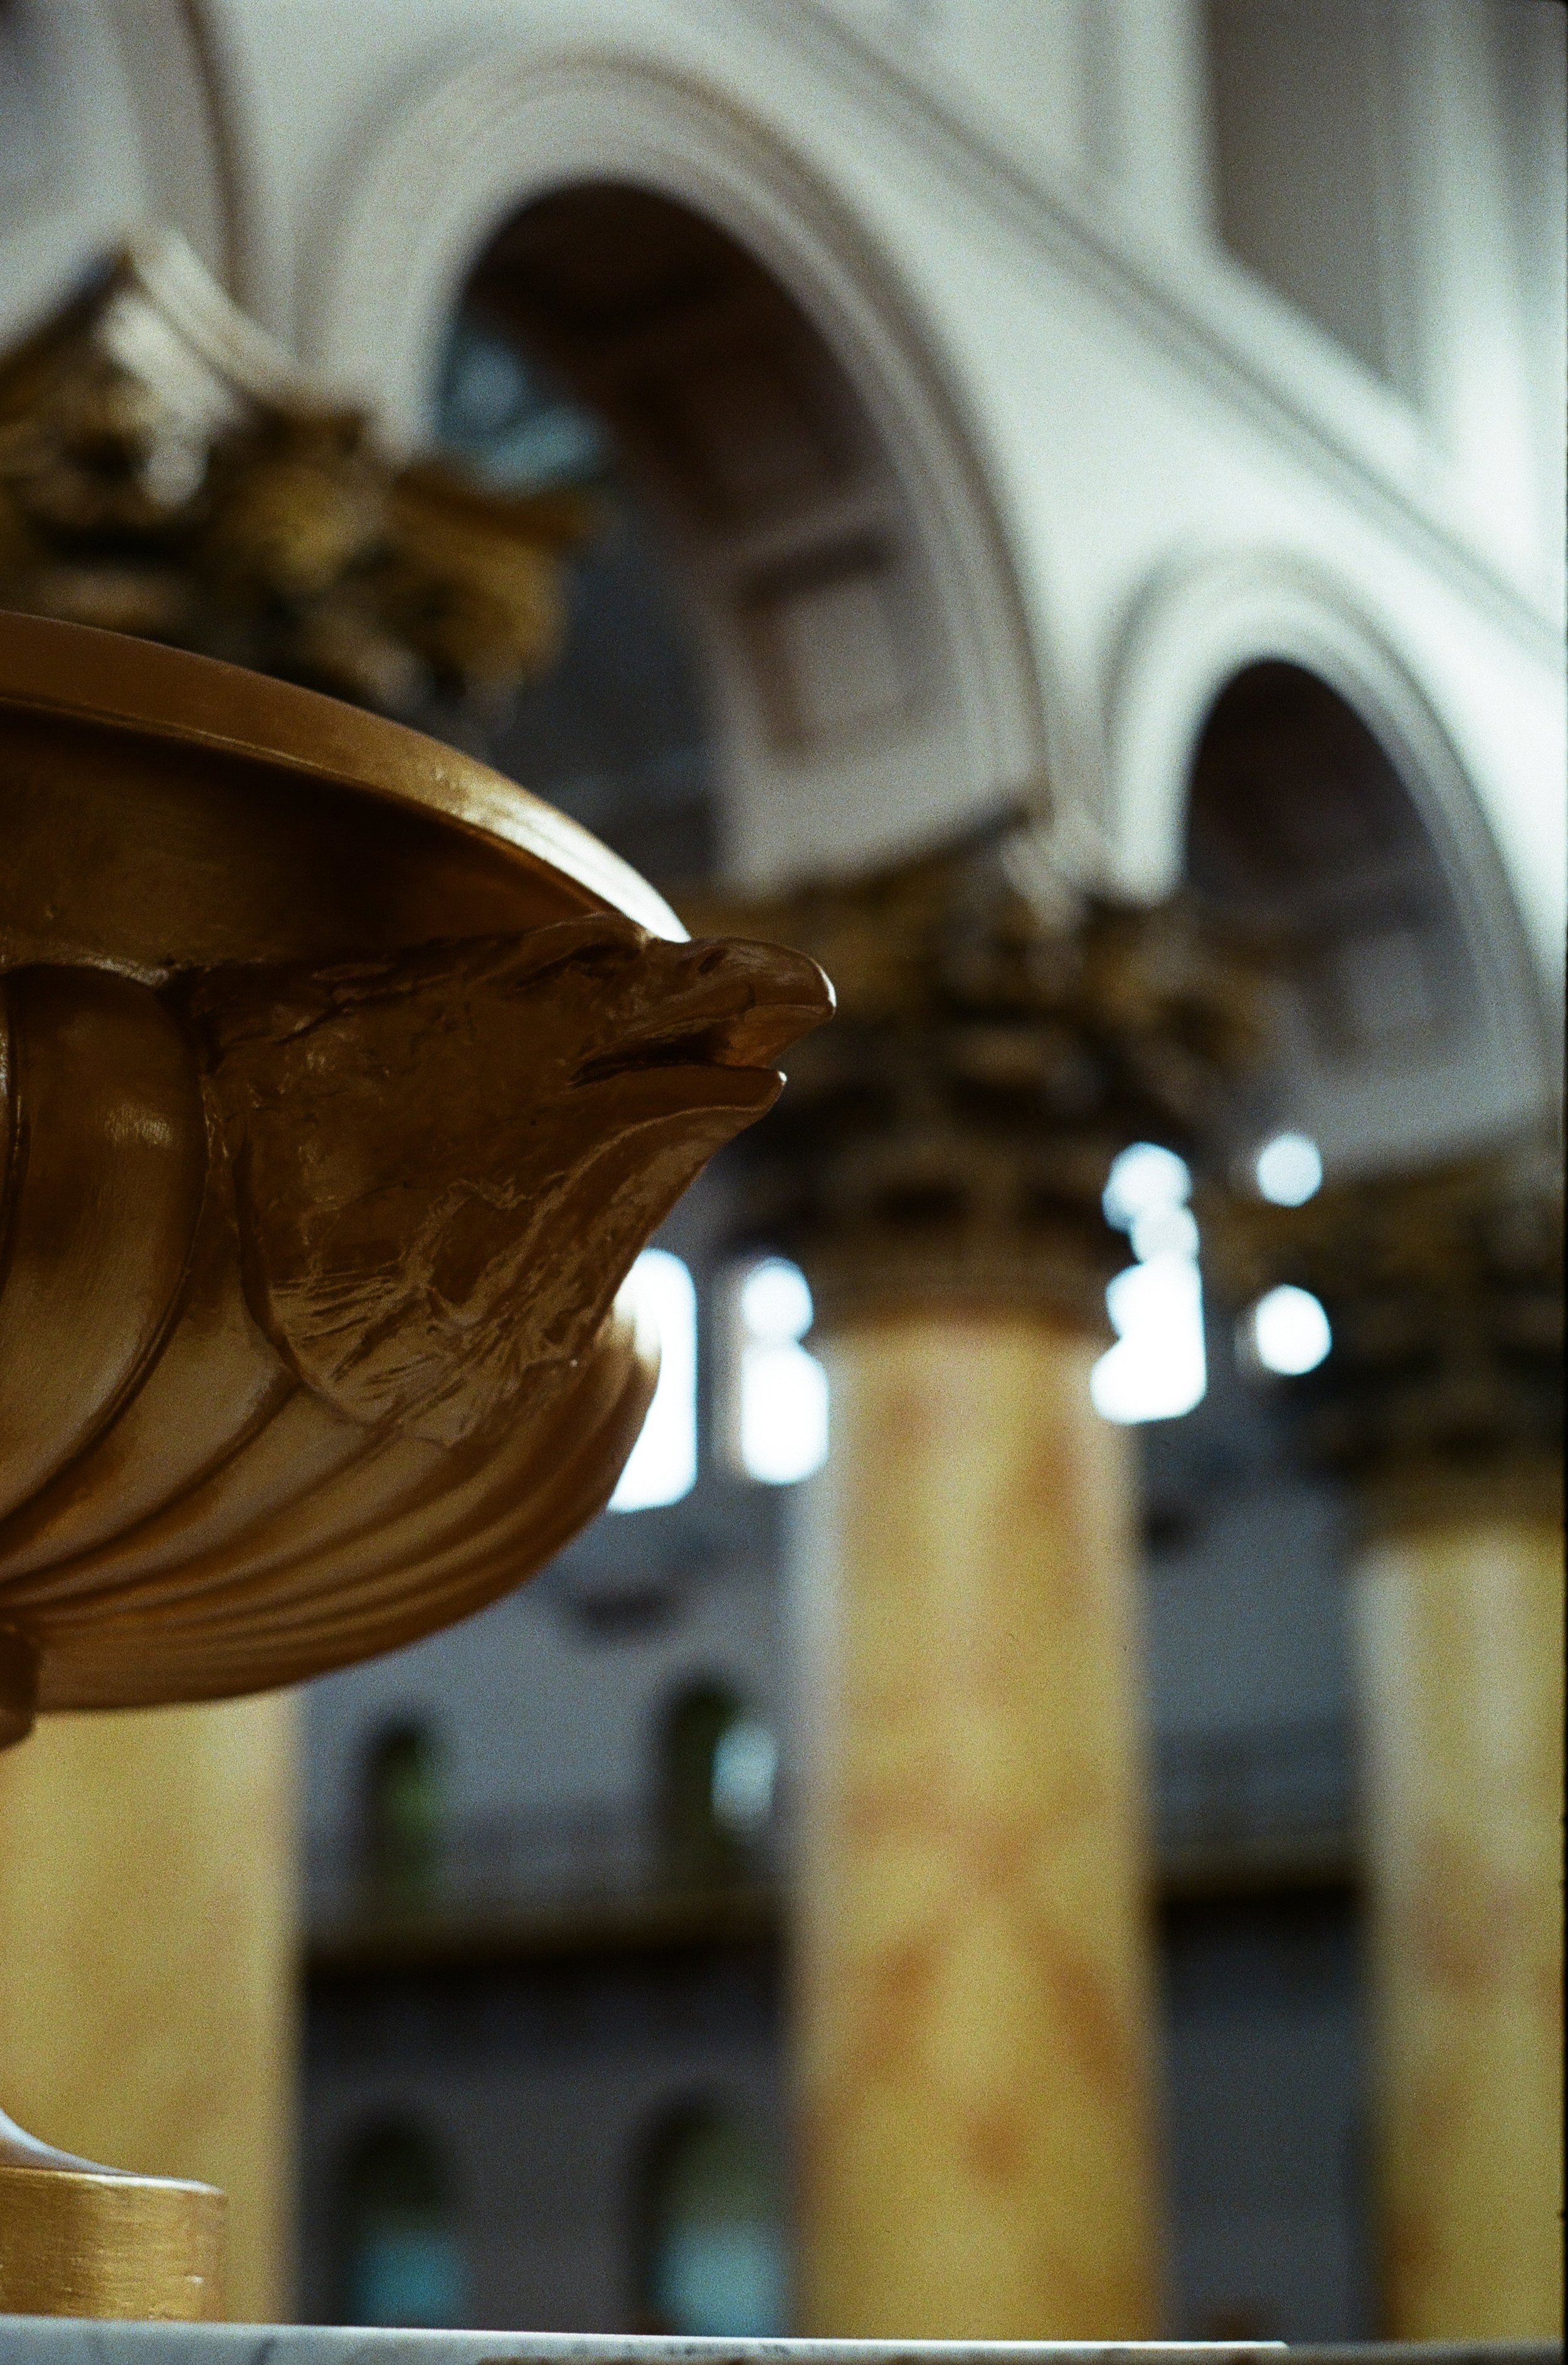
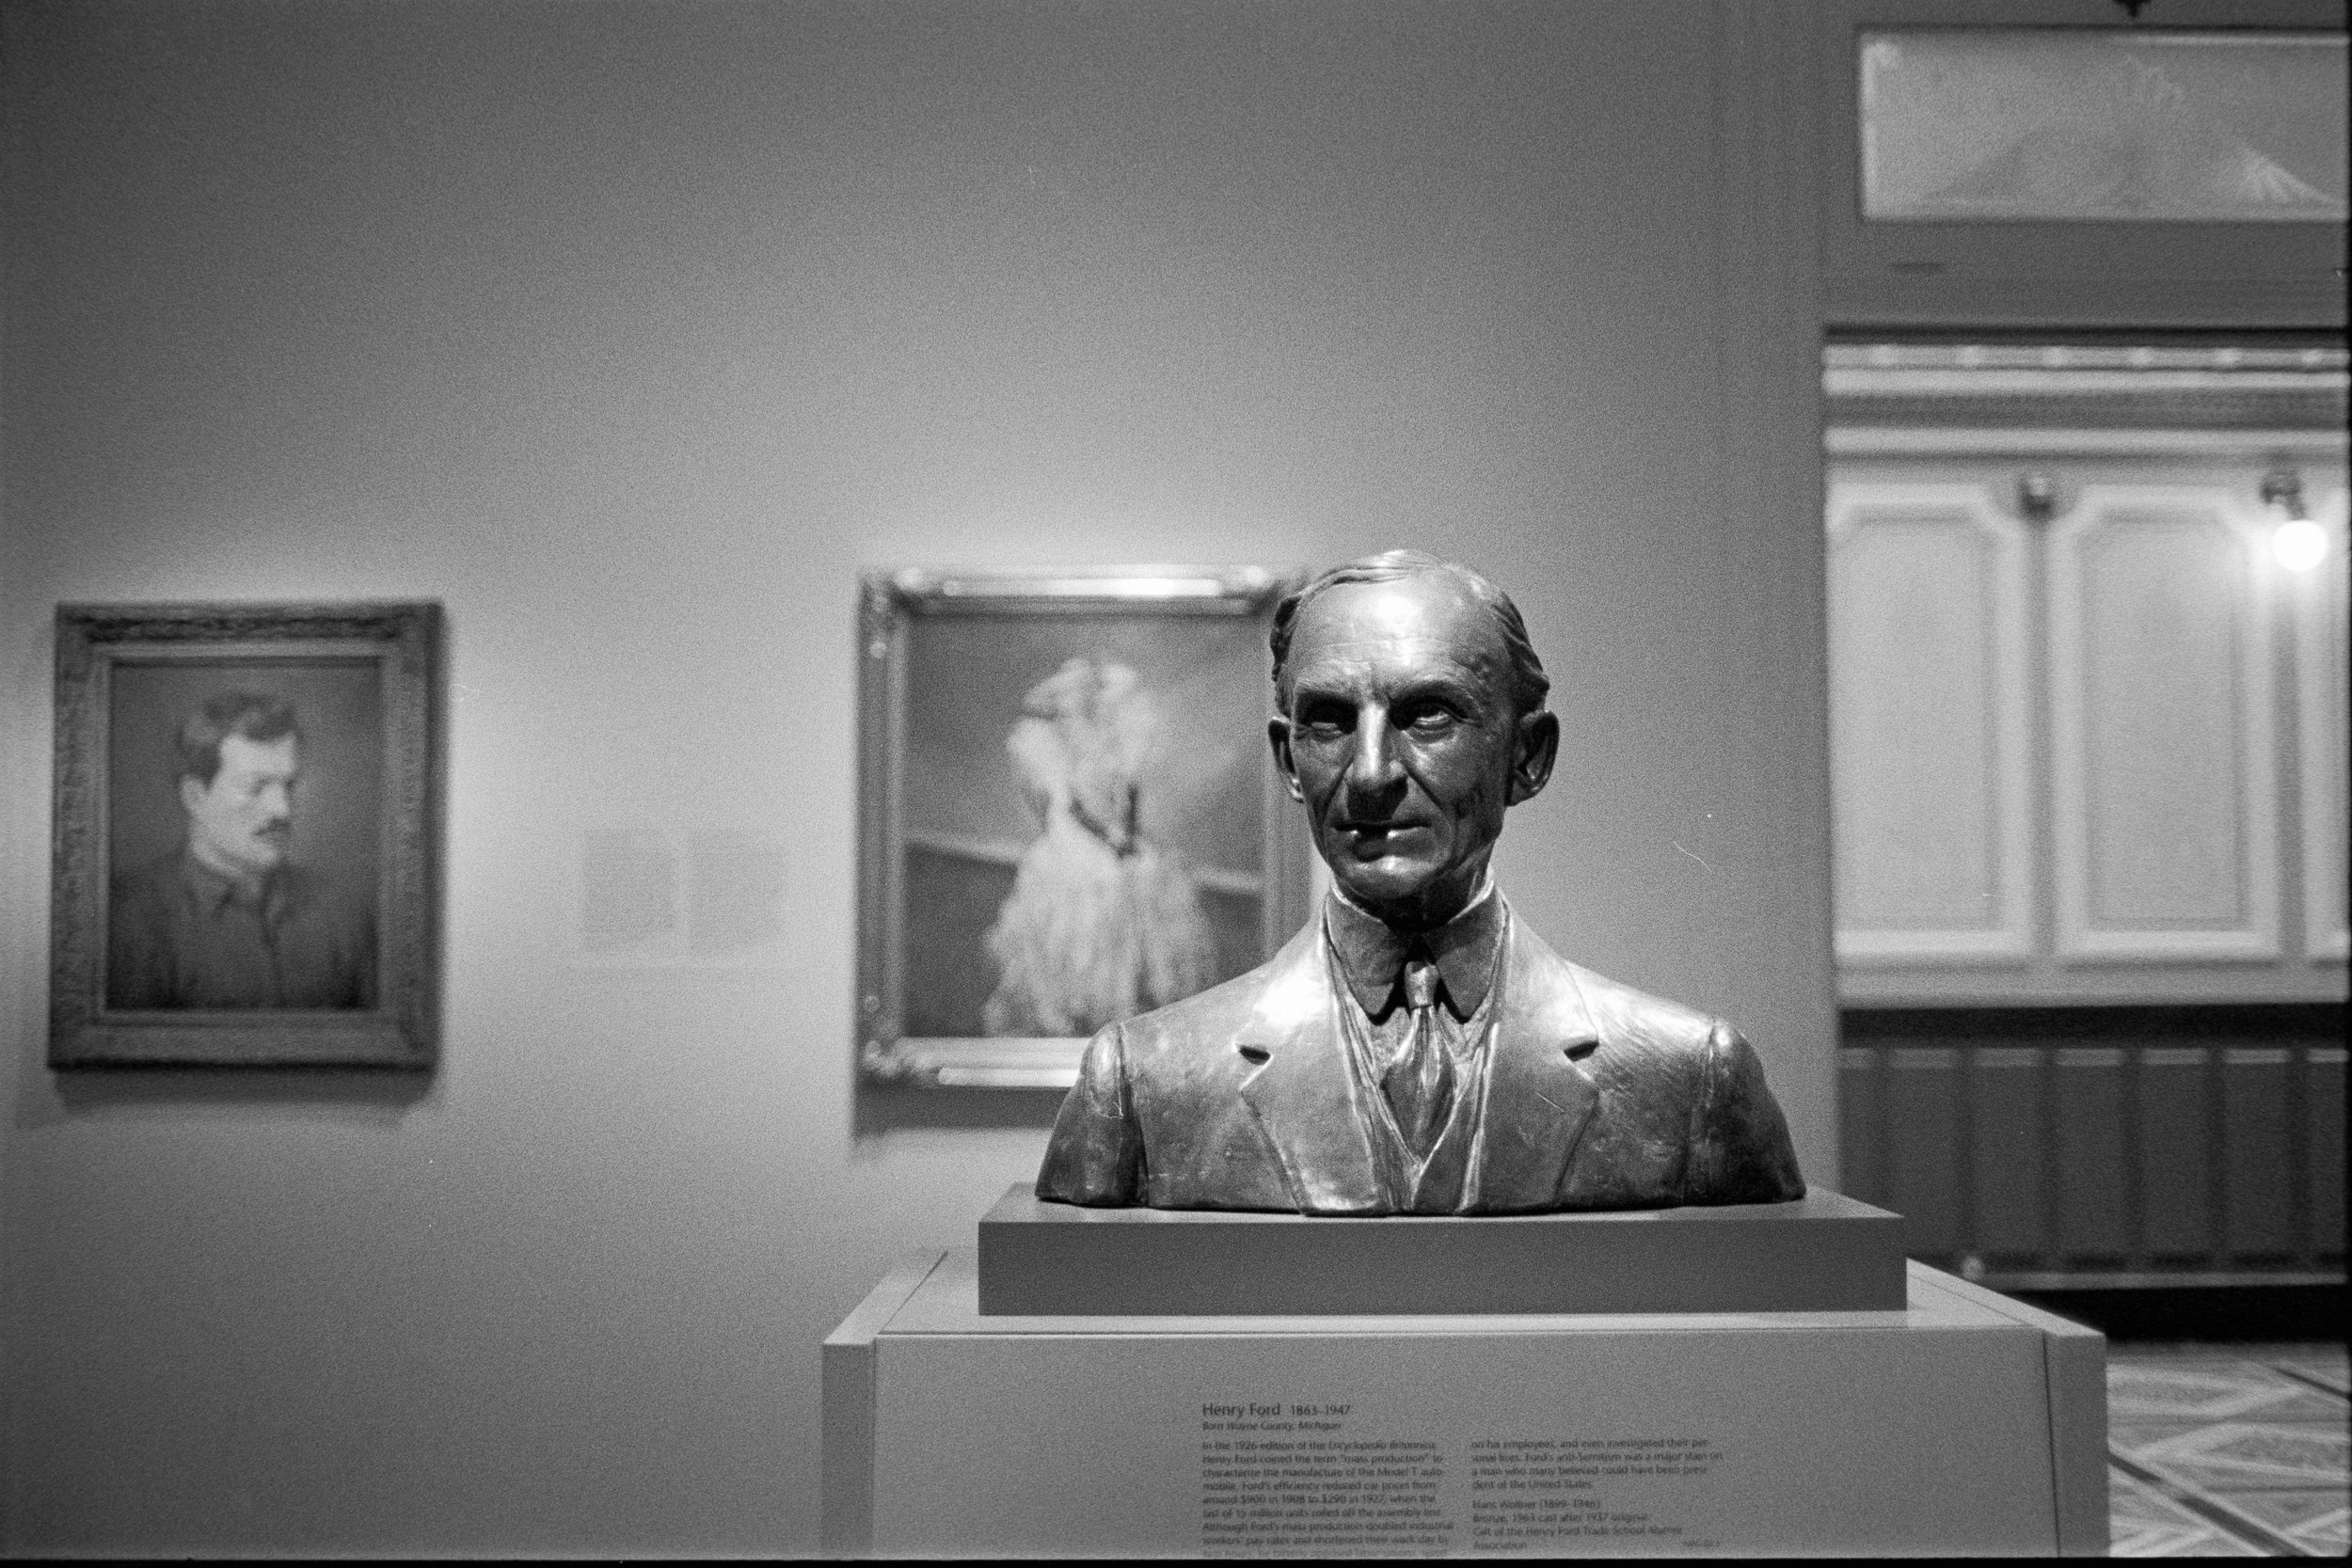
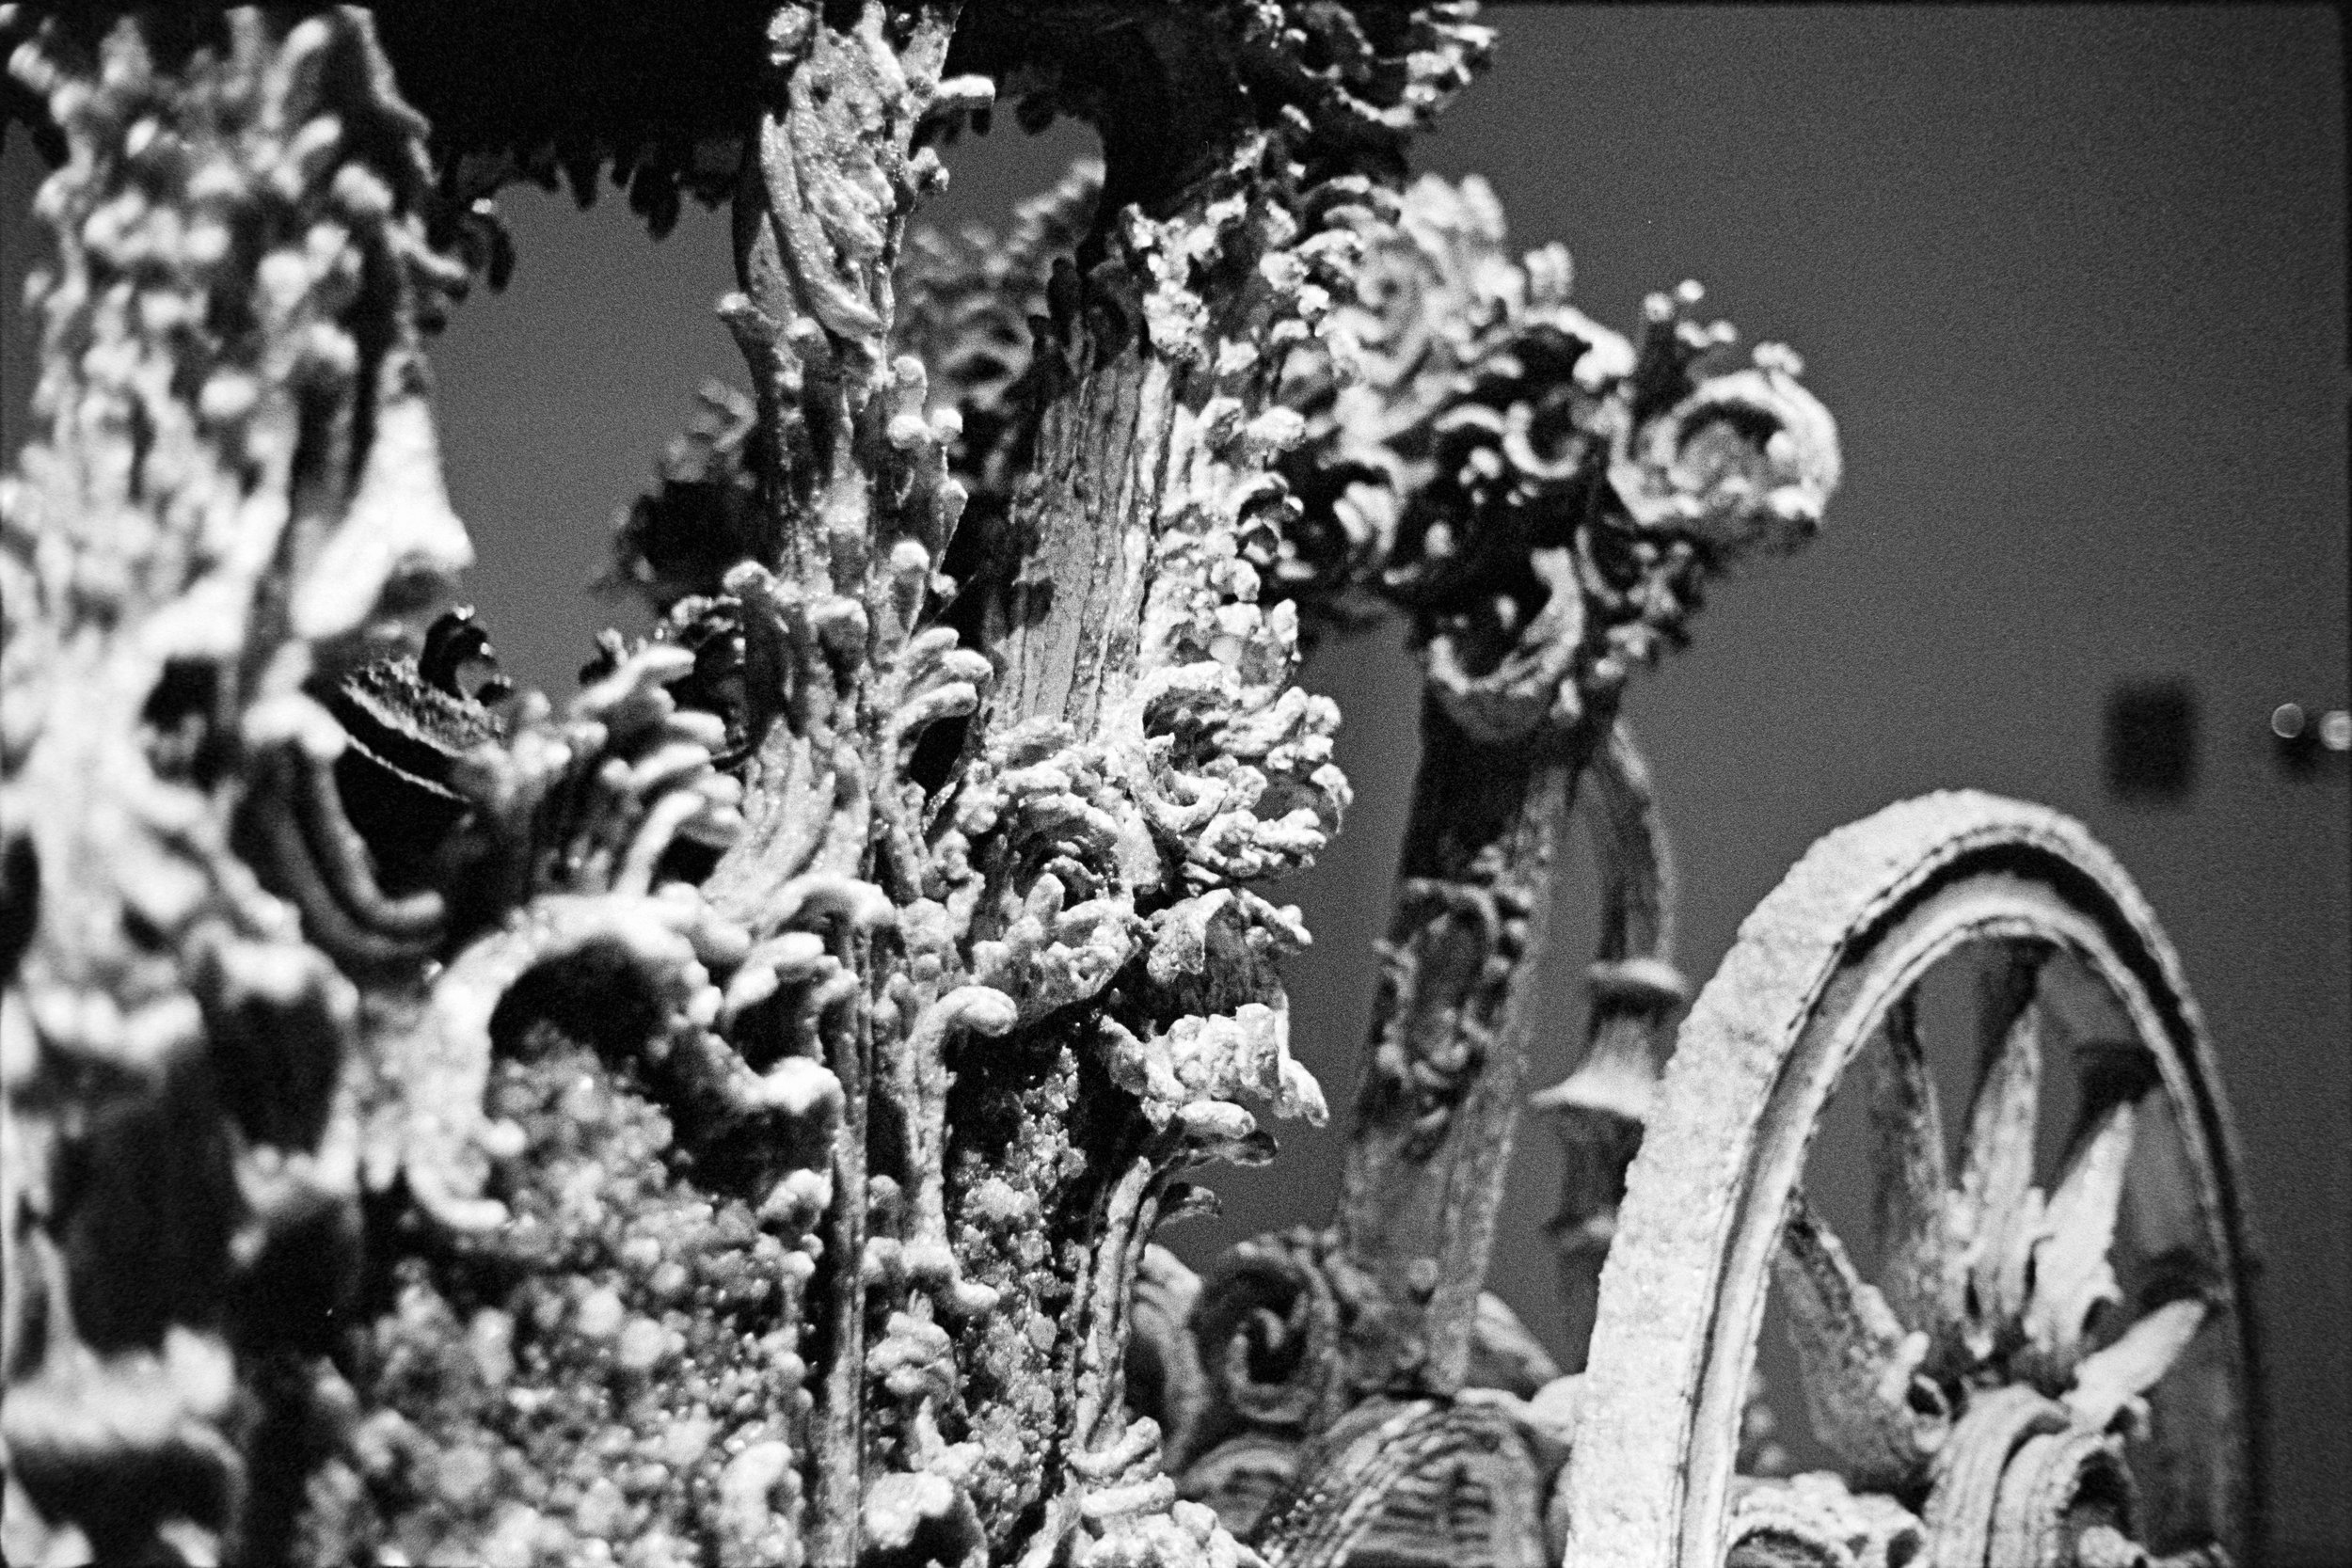
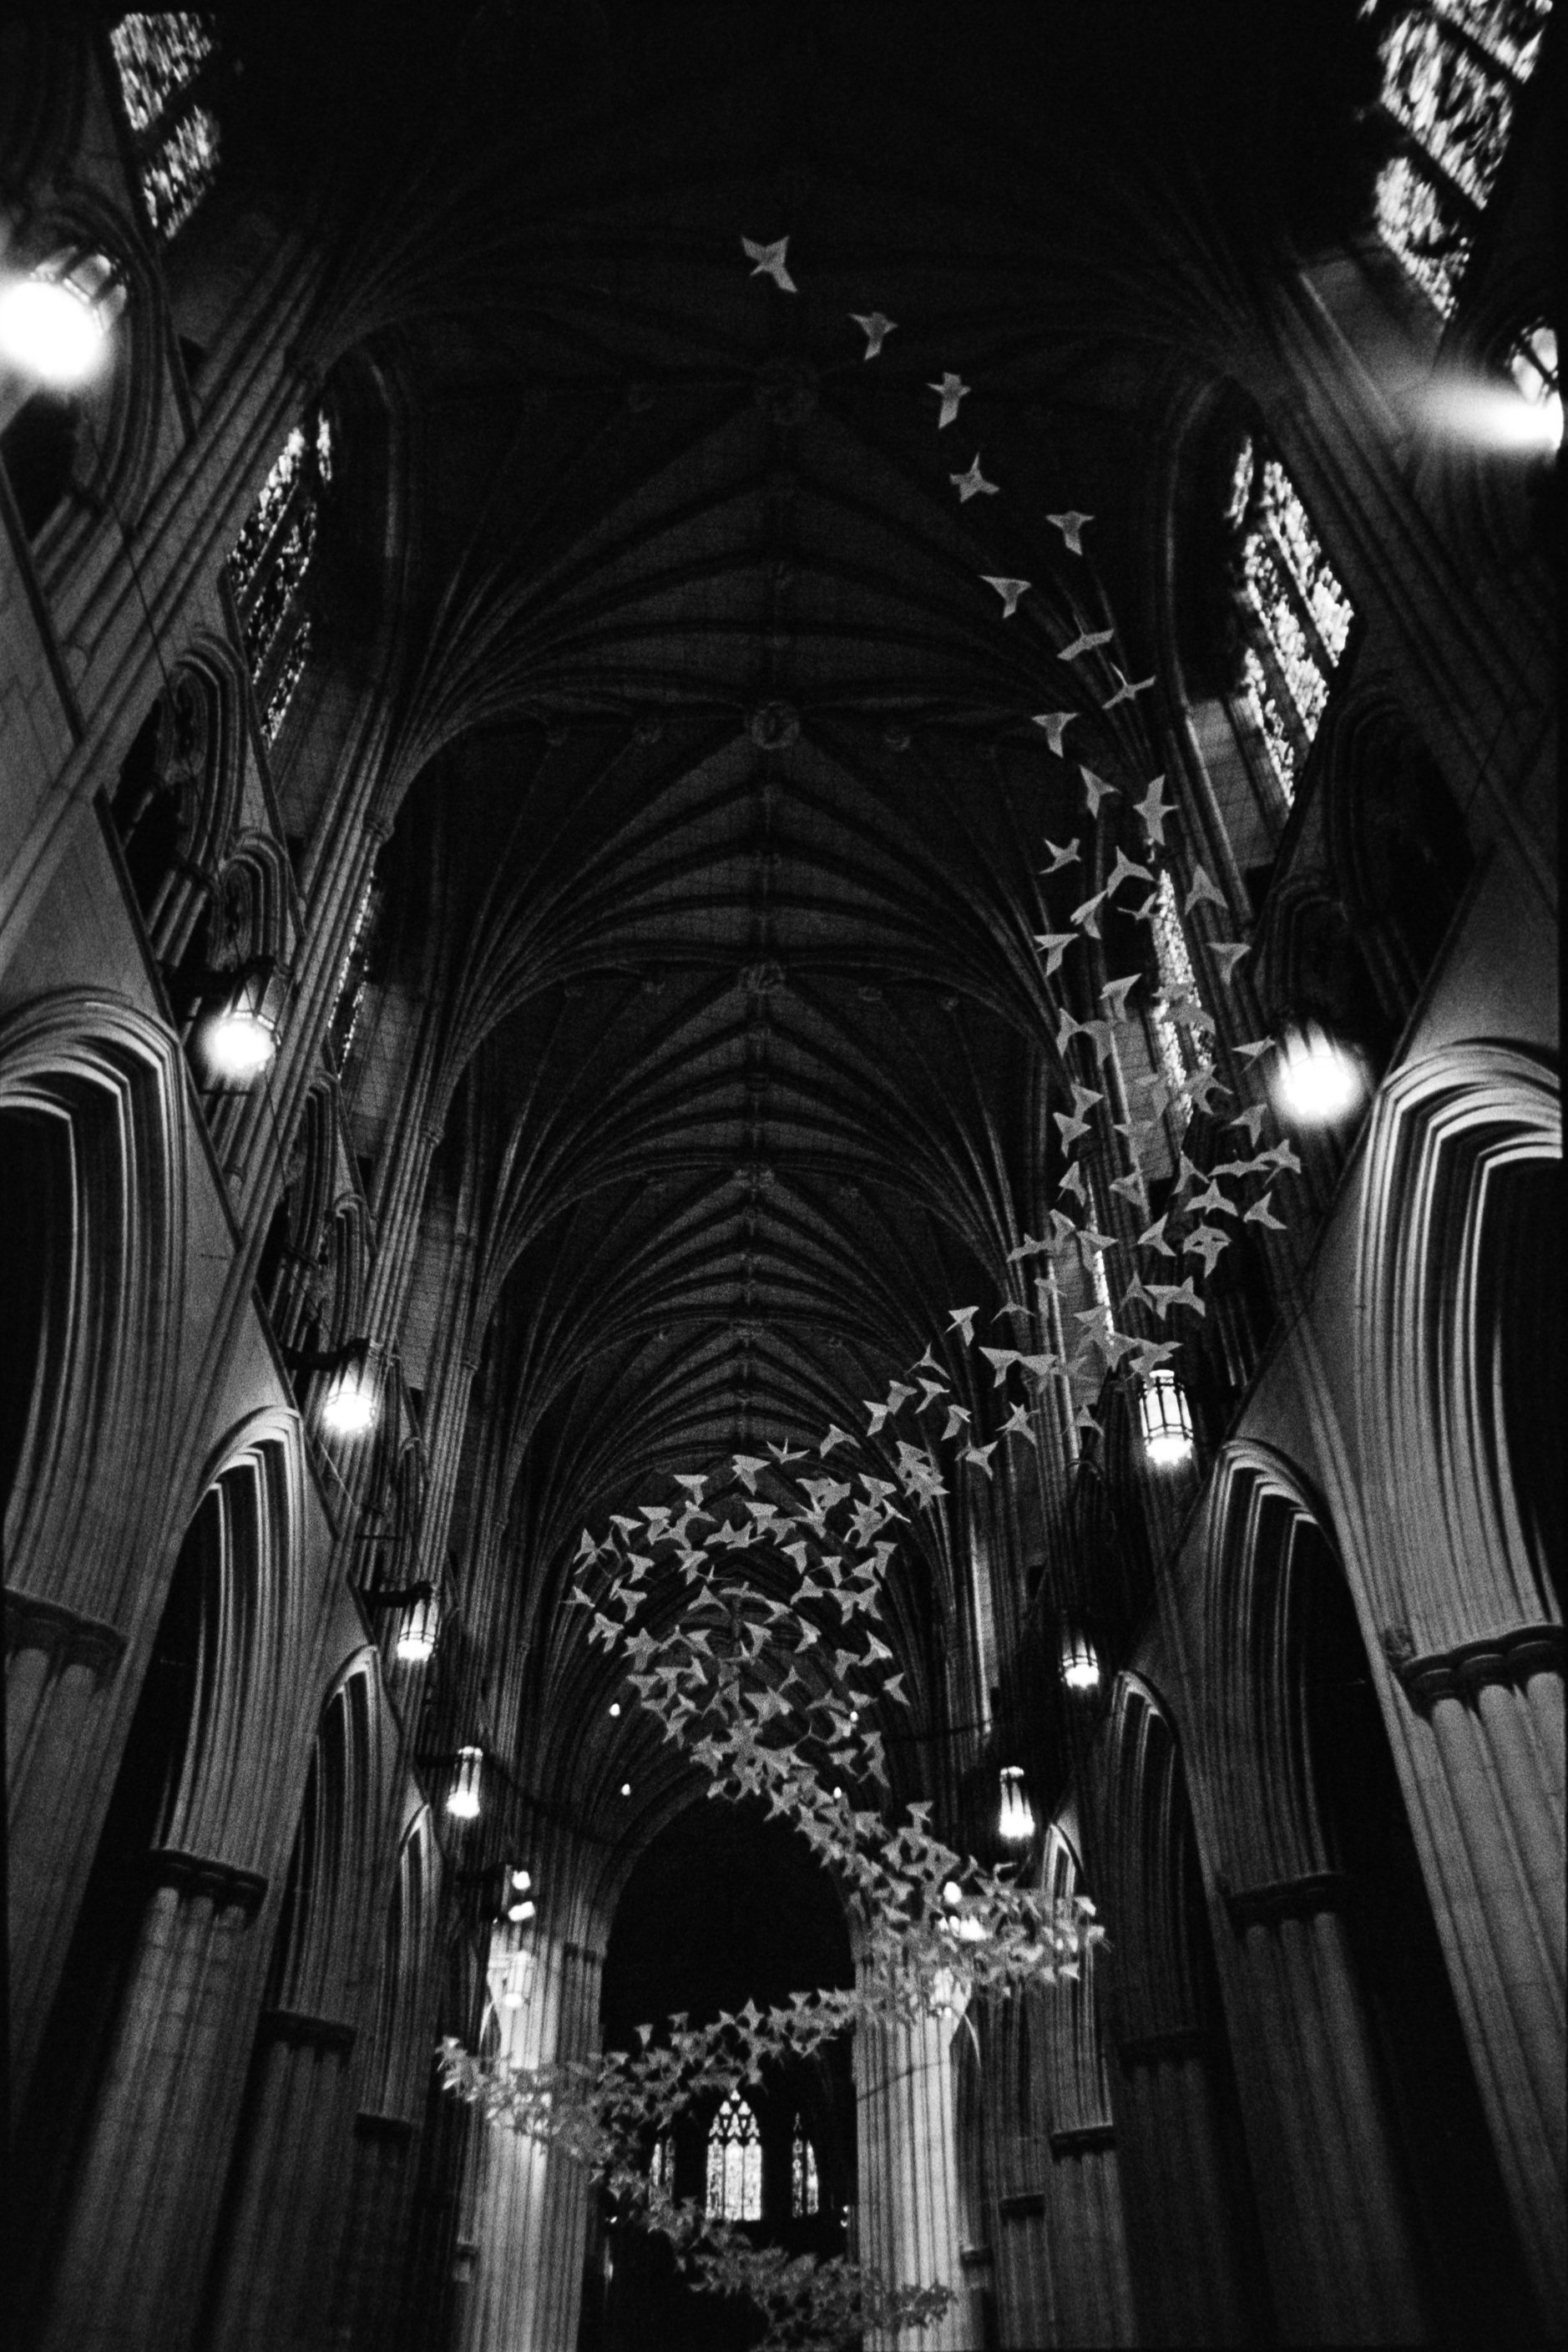
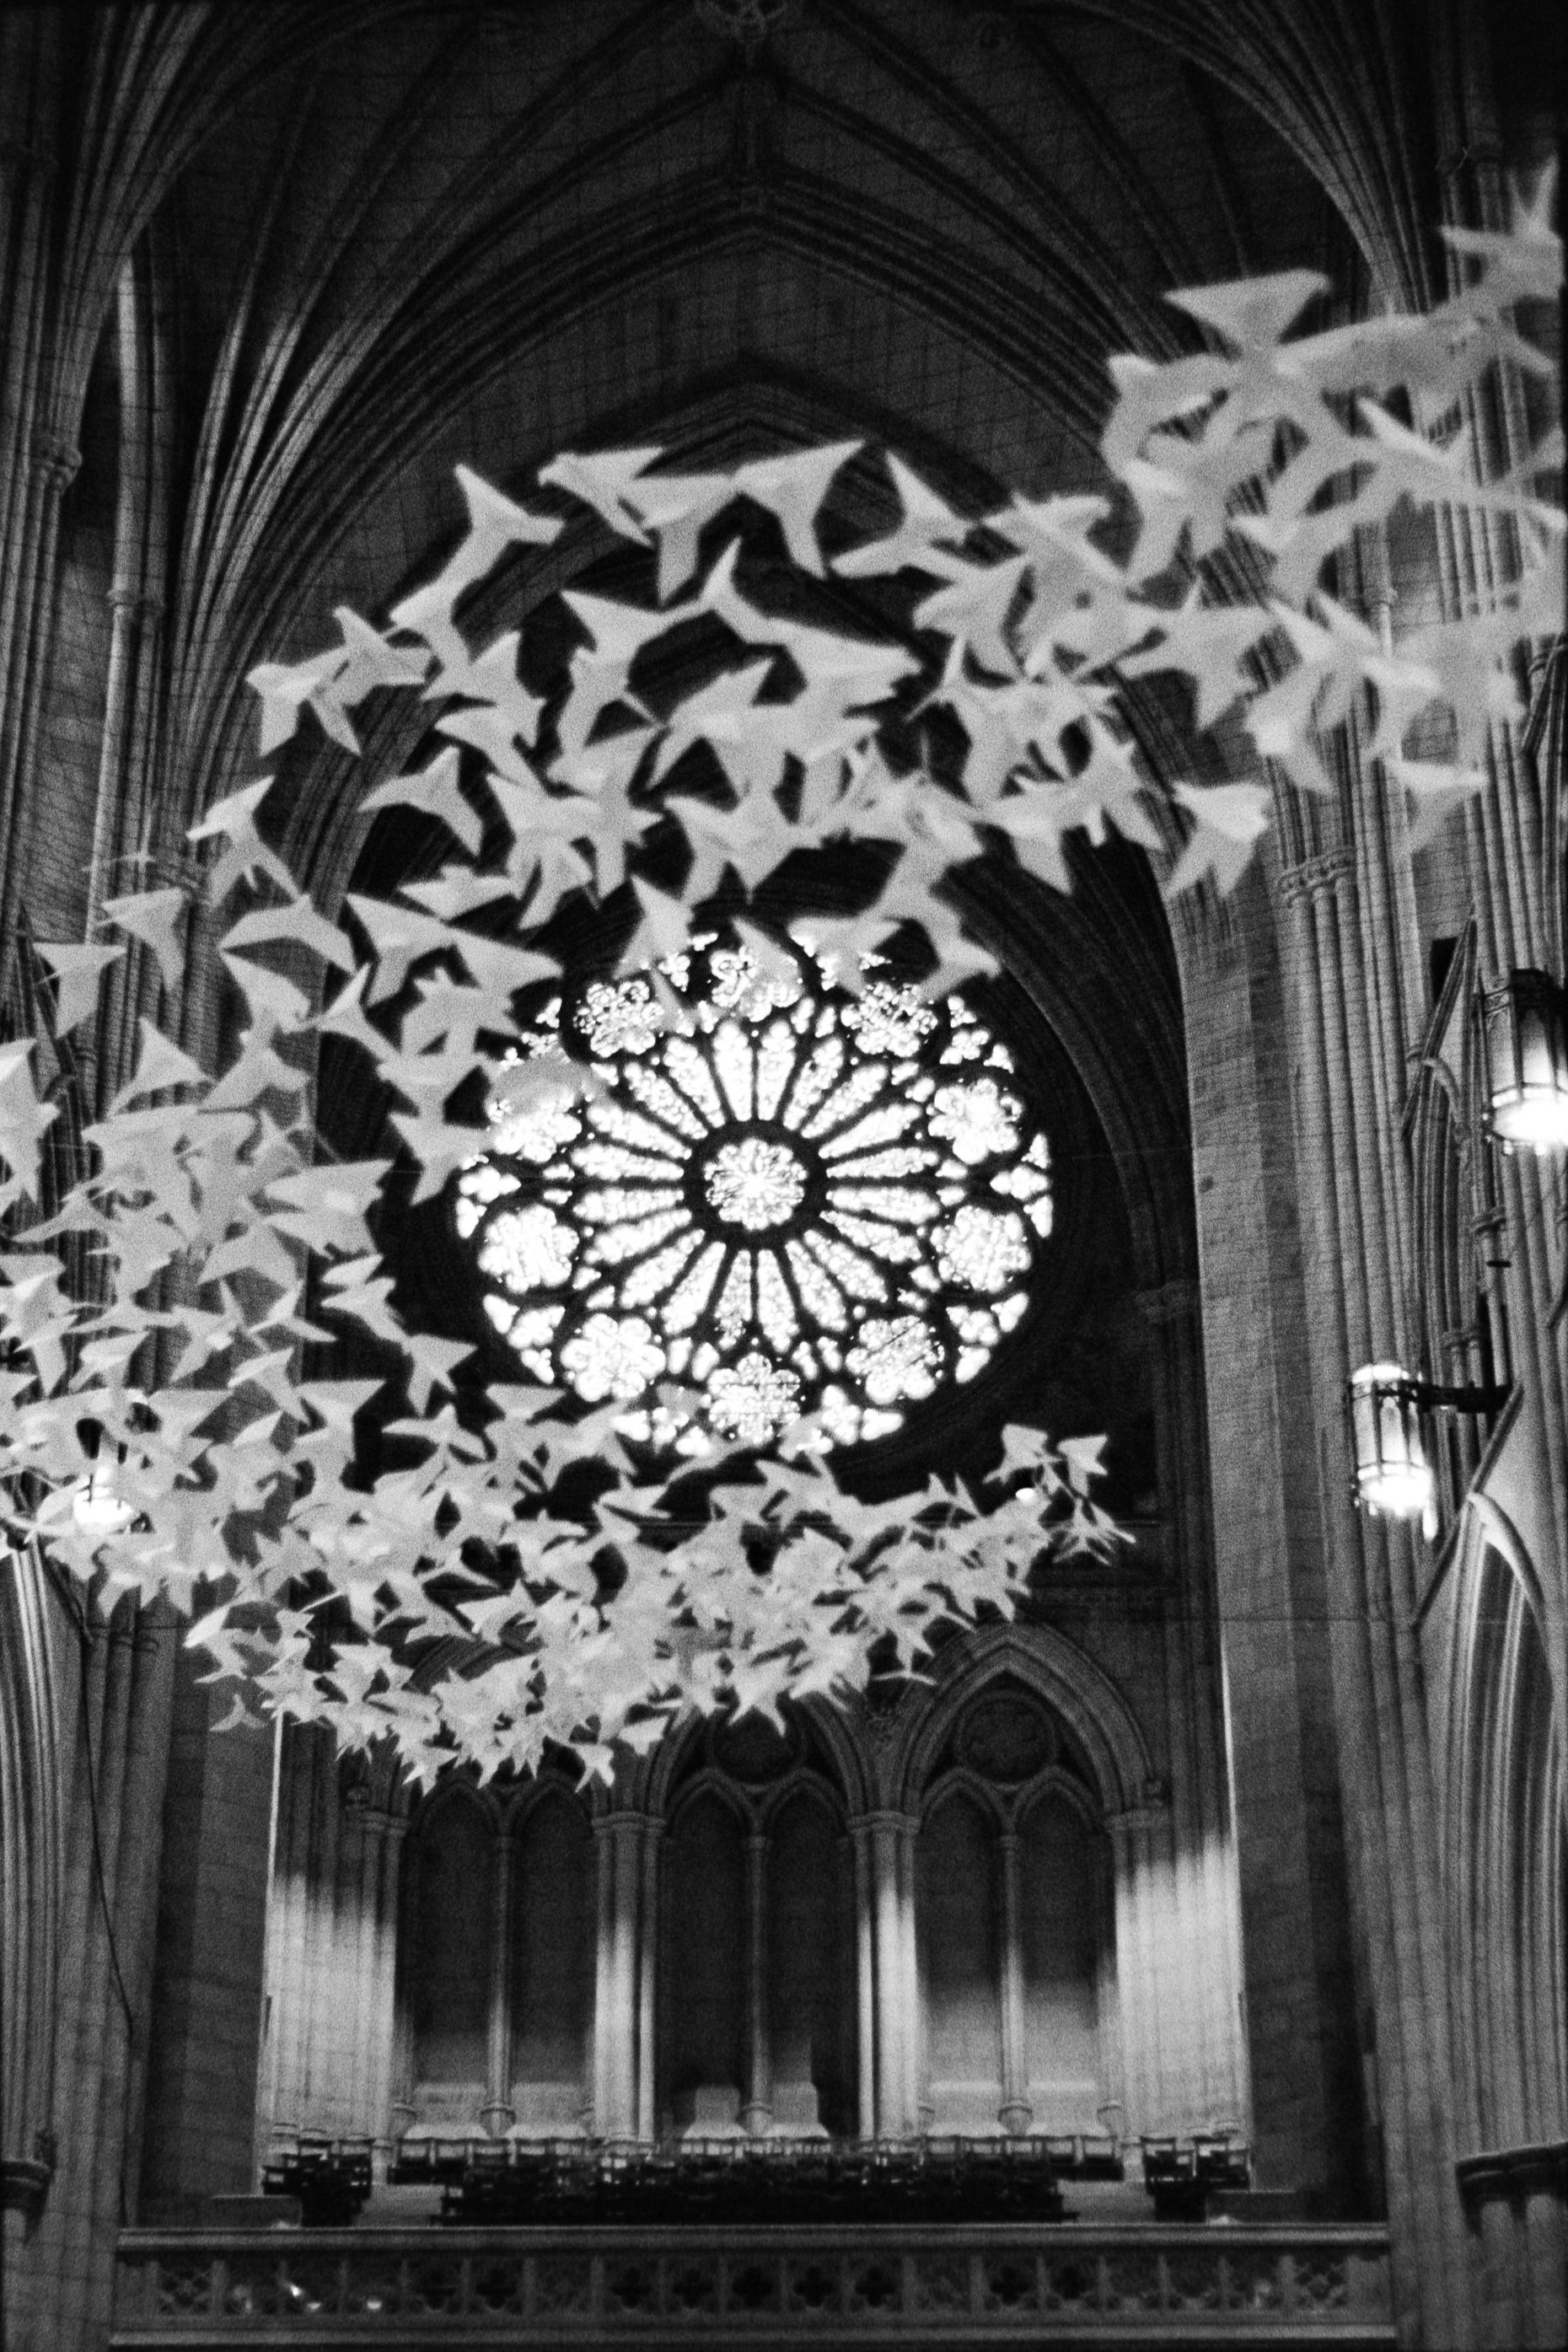
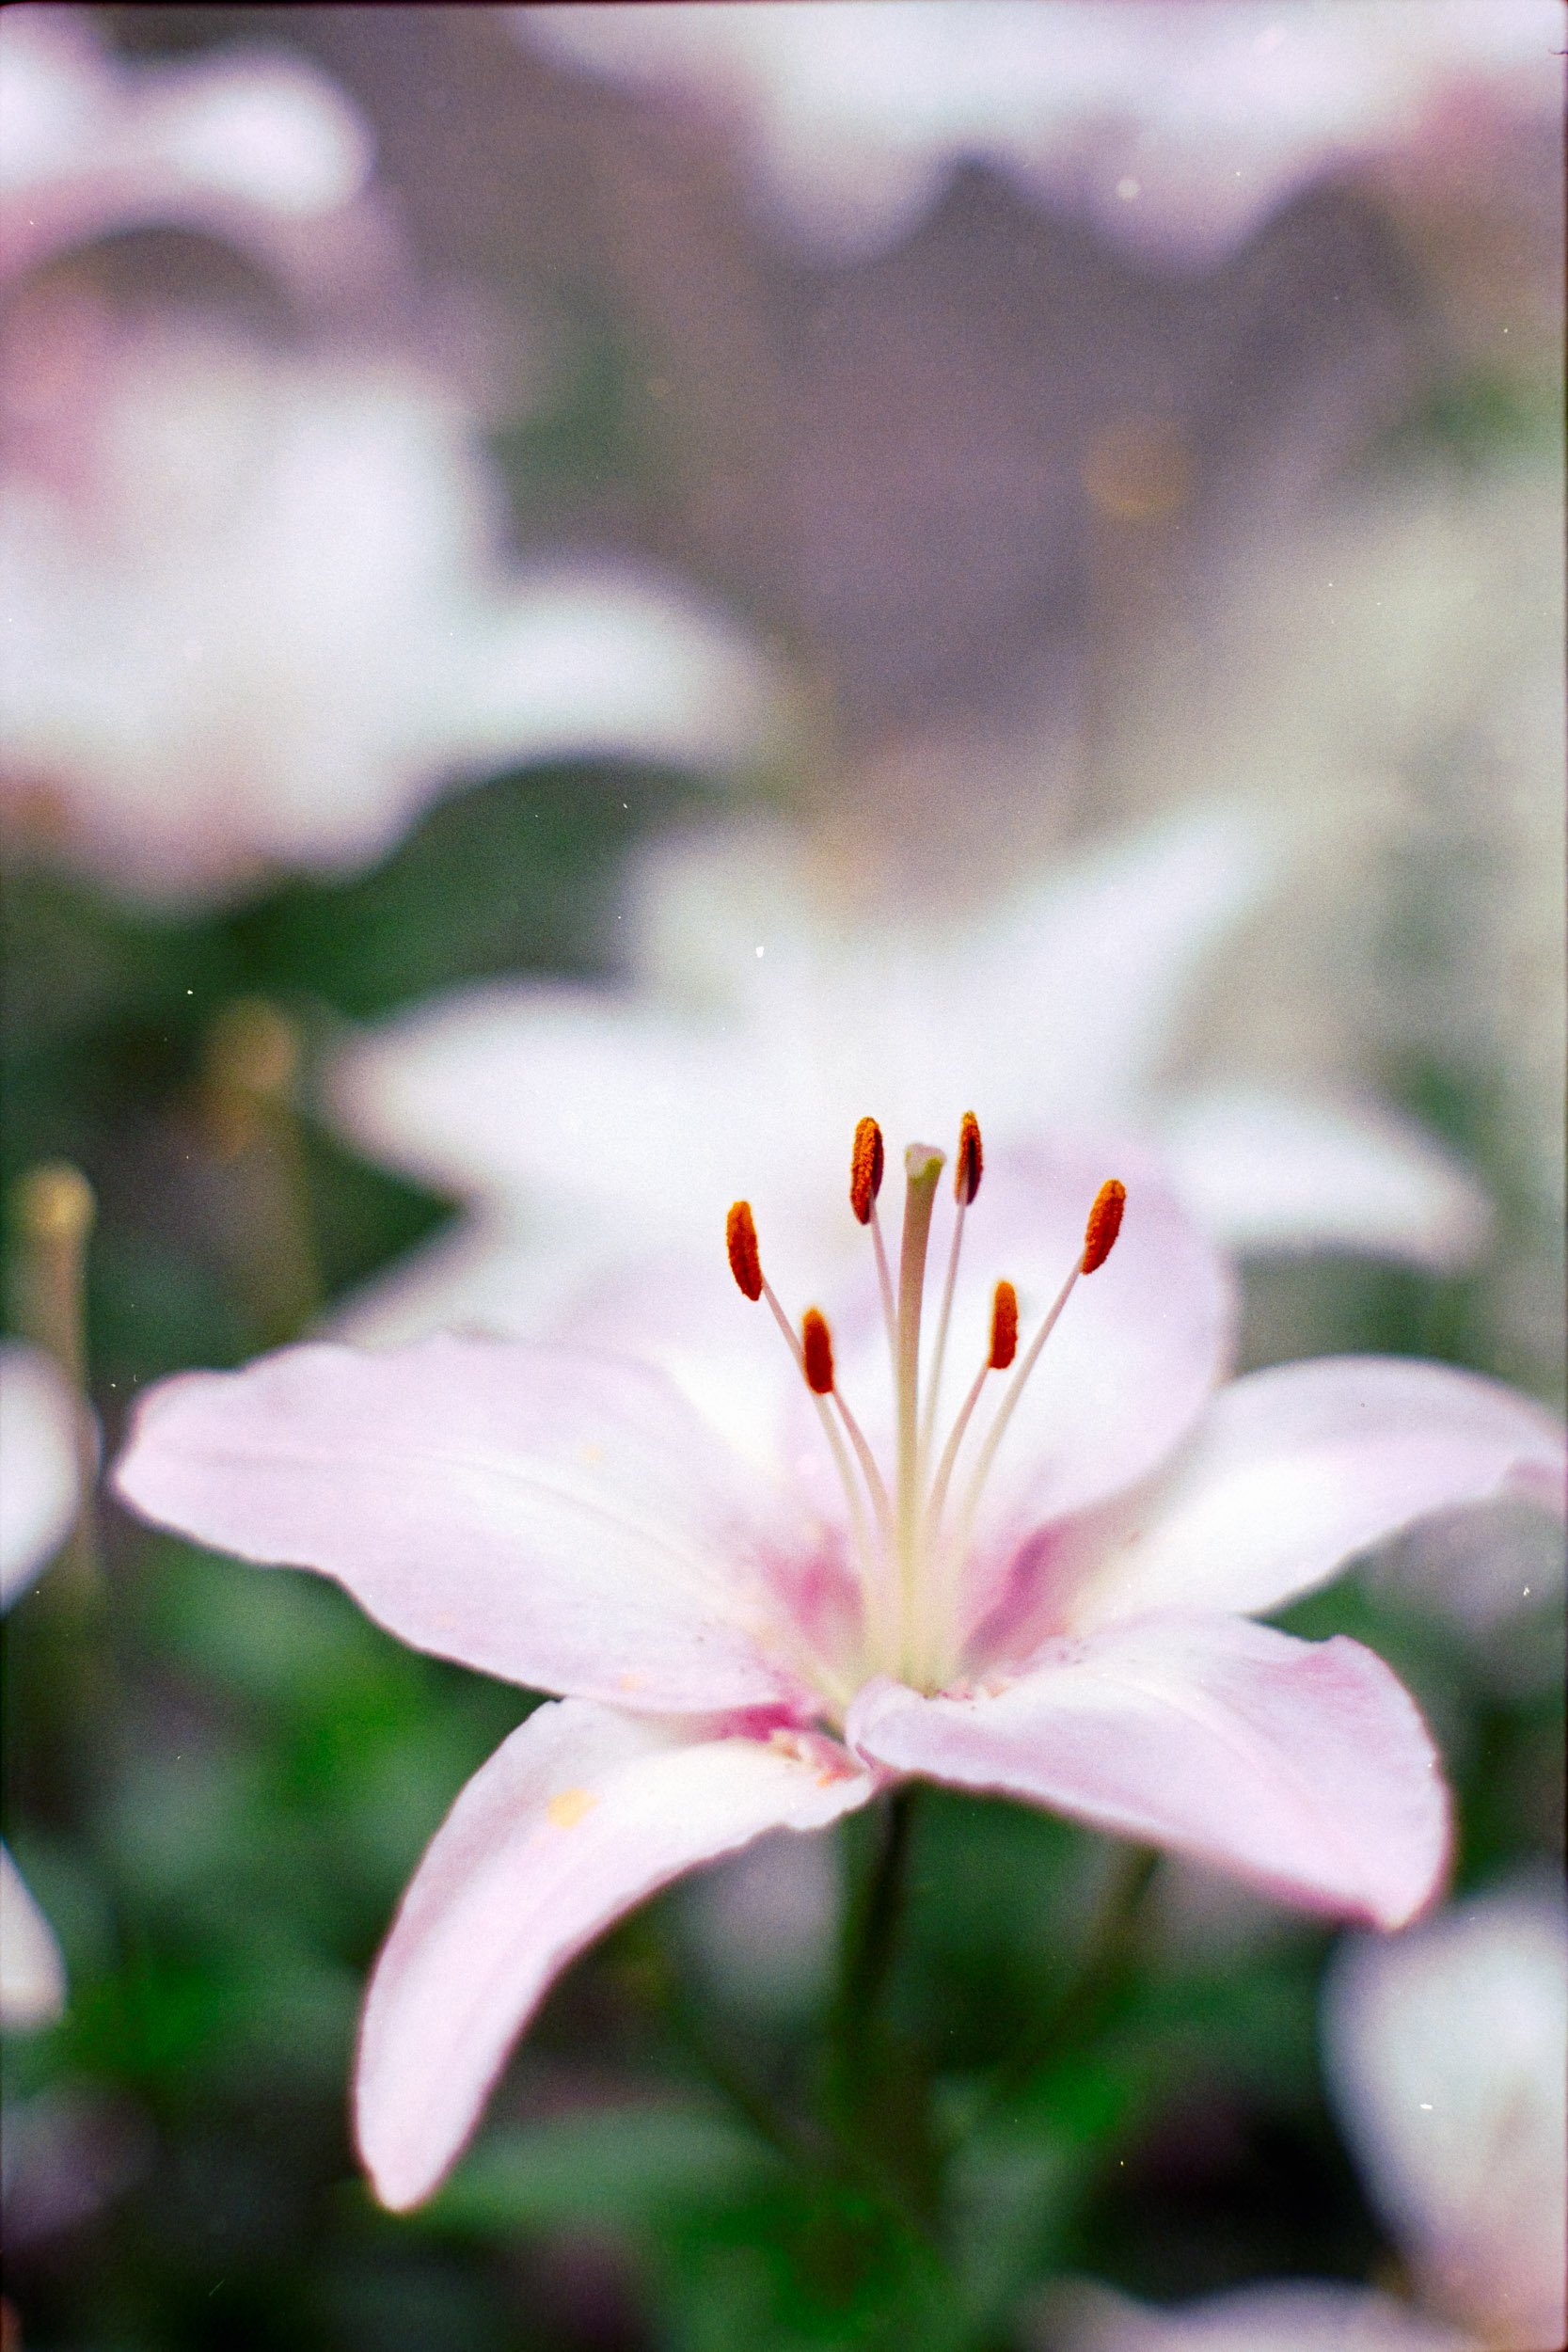
Example Photos
Below find 12 sample photos which demonstrate this lens’ capabilities. All taken on film.


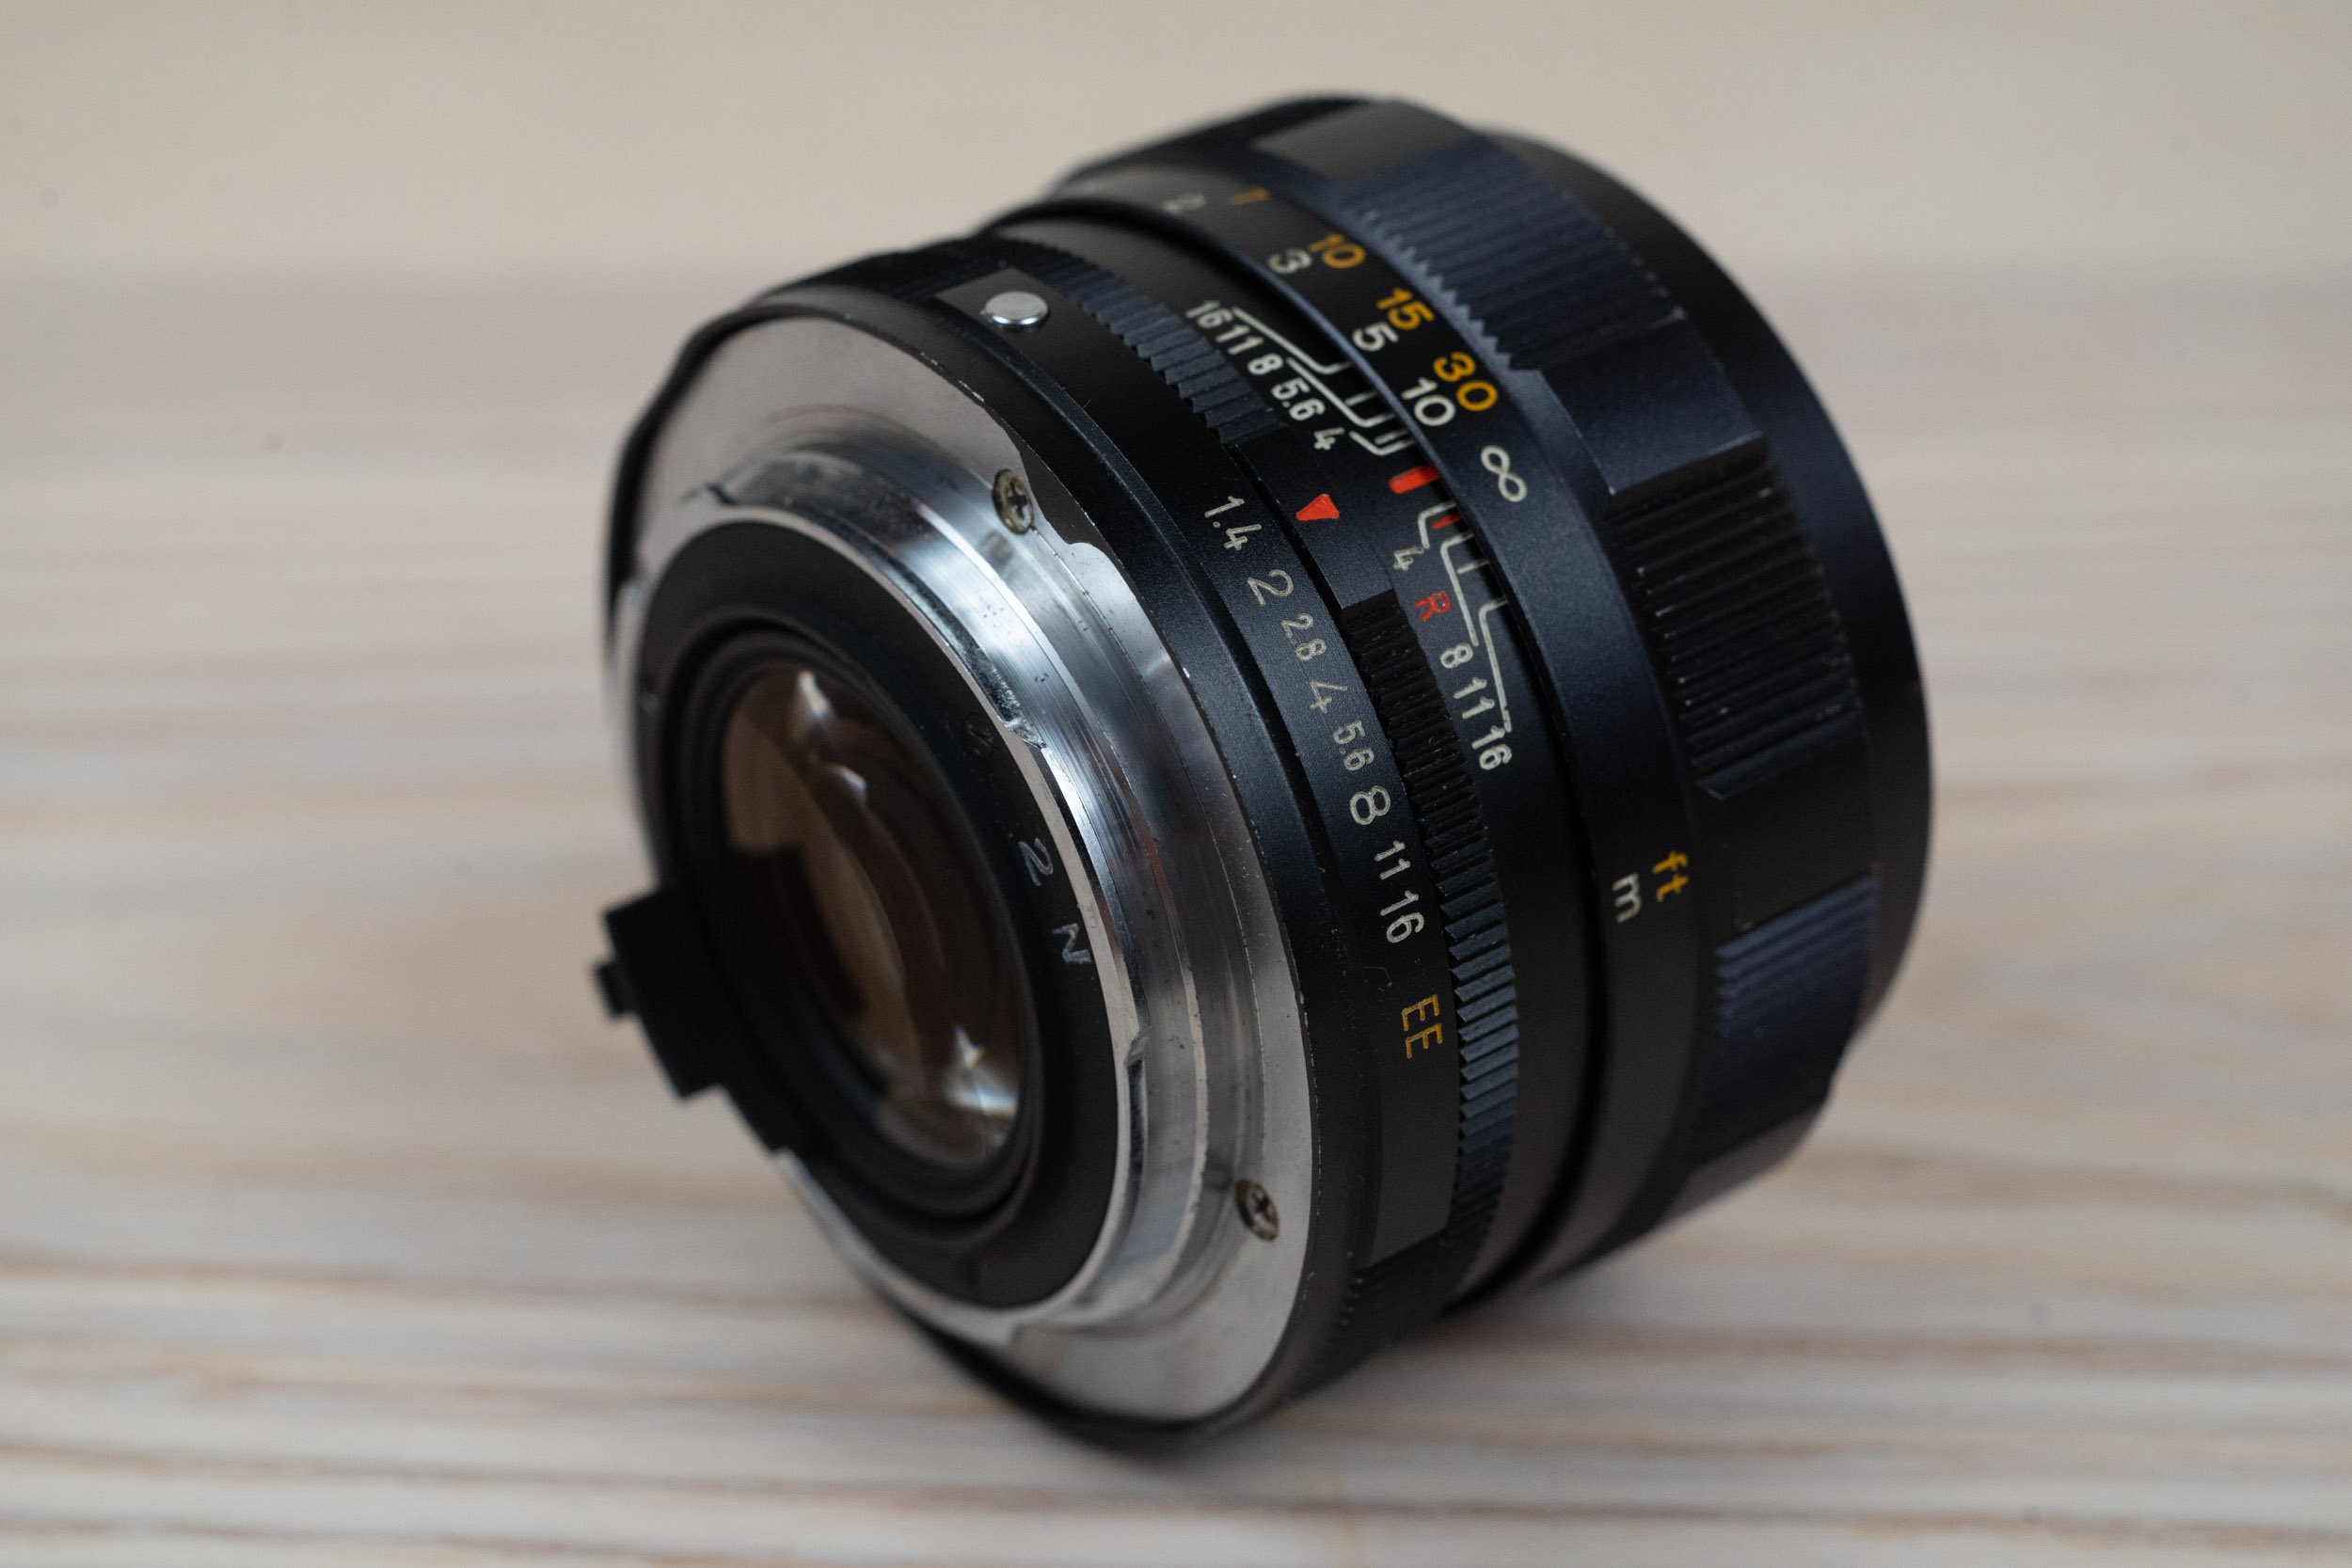
Disassembly, Cleaning and Repair
The Konica Hexanon 57mm f1.4 has a straightforward design. It’s constructed almost entirely from metal and glass, with one plastic component which we’ll see when we disassemble it. This lens seems far more susceptible to getting oil on the aperture blades than most other Konica lenses from this era. I’ve yet to find a copy of this lens which didn’t need its aperture cleaned.
Disassembly is easy if you’ve ever worked on a similar lens by most other manufacturers. The objective assembly can be be removed from the helicoid without disassembly of the helicoid or aperture mechanisms, simplifying things considerably.
For this procedure you’ll need a spanner wrench, a set of screwdrivers and glass cleaner. If you’re cleaning the aperture blades, you’ll also need some lighter fluid.
Be sure to use appropriate JIS screw drivers so you don’t strip the screws.

First, remove the front bezel ring. Extend the focusing helicoid all the way out, grab the bezel and twist.

Now loosen the front lock ring set screw. No need to remove it fully, a couple turns will do. You may have to twist the helicoid to its maximum extension to gain access to the set screw.
Remove the silver locking ring. A spanner wrench will get it loose then the entire ring can be twisted off.

With a little wiggle, the entire optical assembly should just slide out the front.

In the photo above, note the plastic lock ring holding in the front lens element.
In the photo below, note the spanner wrench cutouts around the base of the rear lens group.
Both of these need to be removed to remove the glass elements from the lens. There are no locking screws.

I failed to get a better photo of the actual lens element removal. Removing the plastic ring mentioned above will get the front glass element out. The rest of the front group can be removed by twisting it off with a spanner. Repeat for the rear group and you should have a pile of glass like this.

You can now clean the glass to your heart’s content. The front and rear groups can be further disassembled with a spanner if needed, though it usually isn’t necessary.
In the photo below, the oil on the aperture is now clearly visible.

And here’s the rear.

There’s usually no need to disassemble the aperture mechanism any further than this. Put a couple drops of lighter fluid on the aperture blades and cycle the mechanism open and closed a few times. Let it sit for an hour then check that it moves freely. If it doesn’t, repeat the process until it does. If you’re still having issues you can disassemble it further and clean each blade individually.

With the aperture cycling freely and the glass elements clean, you’re now pretty much done. Reassemble the optical assembly in the reverse order you took it apart. When reinstalling the optical assembly in the helicoid assembly, remember to align the brass screw (above) with the corresponding slot (below).

Reinstall the silver locking ring. Don’t over-tighten it. Moderately snug is more than enough.
Don’t forget to retighten the locking screw. If you don’t, you wont be able to get the front bezel to thread on properly.

And that’s it. Congrats, the aperture should now stop down effortlessly. Throw it on your camera and shoot away.
Remember to follow @american.analog on instagram.
